3 Ways to Record Calls on Android With Wi-Fi Calling Enabled
[ad_1]
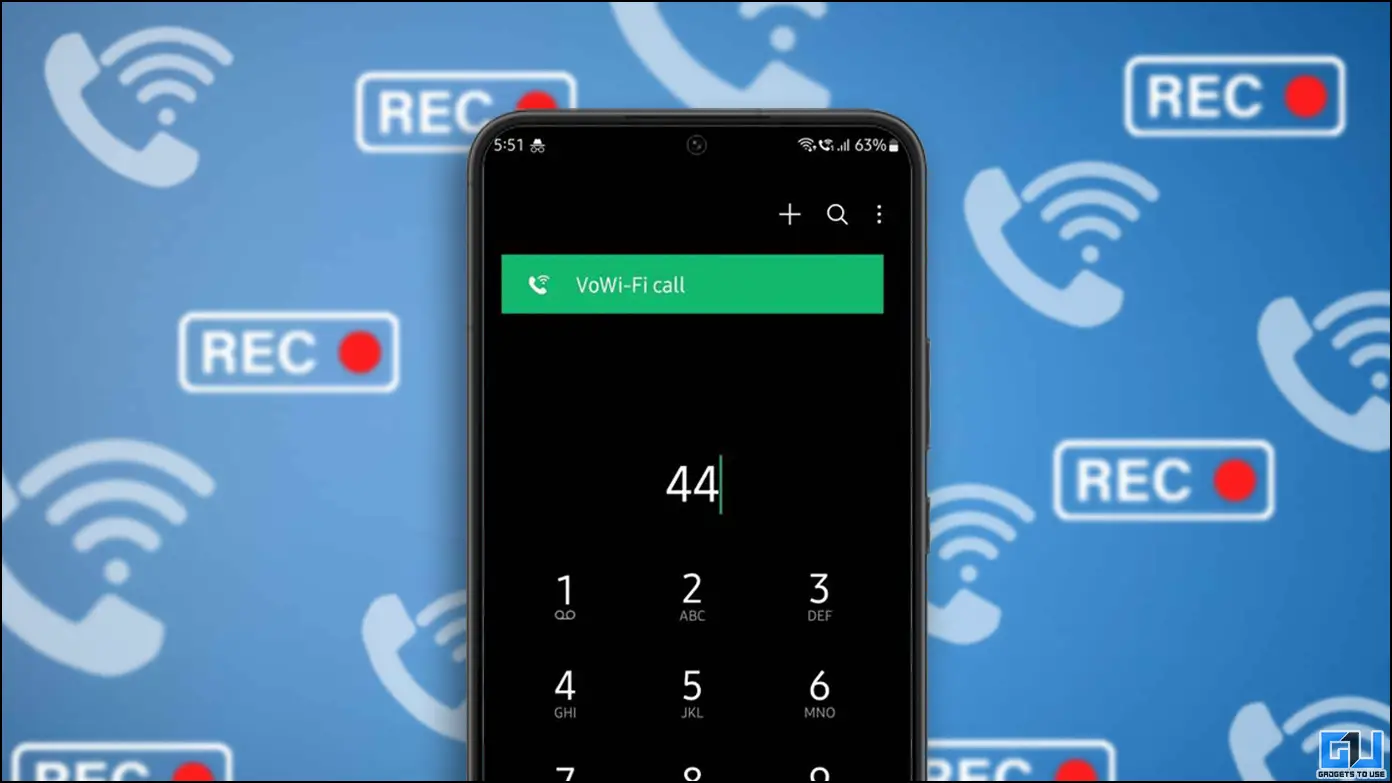
With Wi-Fi calling when your phone is connected to a Wi-Fi network, the carrier uses a Wi-Fi signal strength to connect that call. This not only makes the connection strong but also makes the audio quality much better than regular calls, especially in case of low network reception. However, there’s one drawback of this, that, you cannot record any call over Wi-Fi, especially on Samsung phones. Today in this read, we’ll guide you to record Wi-Fi calls done using Wi-Fi calling, including Samsung phones.
Method to Record Calls with Wi-Fi Calling Enabled
Generally, the in-built call recording feature straight away denies recording any calls going through the Wi-Fi network. However, below we have shared some easy methods to record calls over the Wi-Fi network on all smartphones.
Switch the Preferred Network to Start Recording the Calls
You can easily switch the preferred network to a Mobile network or VoIP in order to start recording the calls again. Follow these simple steps to do so on your Android smartphone.
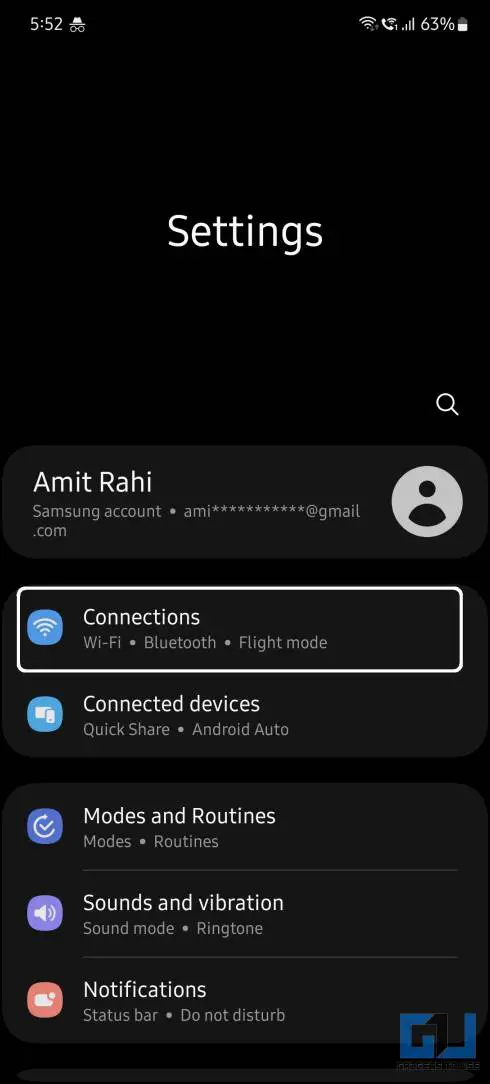
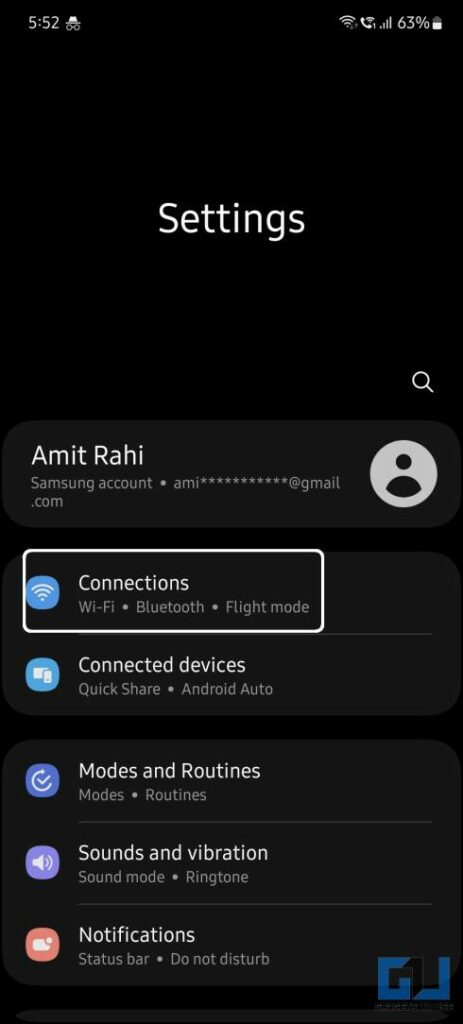
1. Go to Settings and navigate to the Connections option.
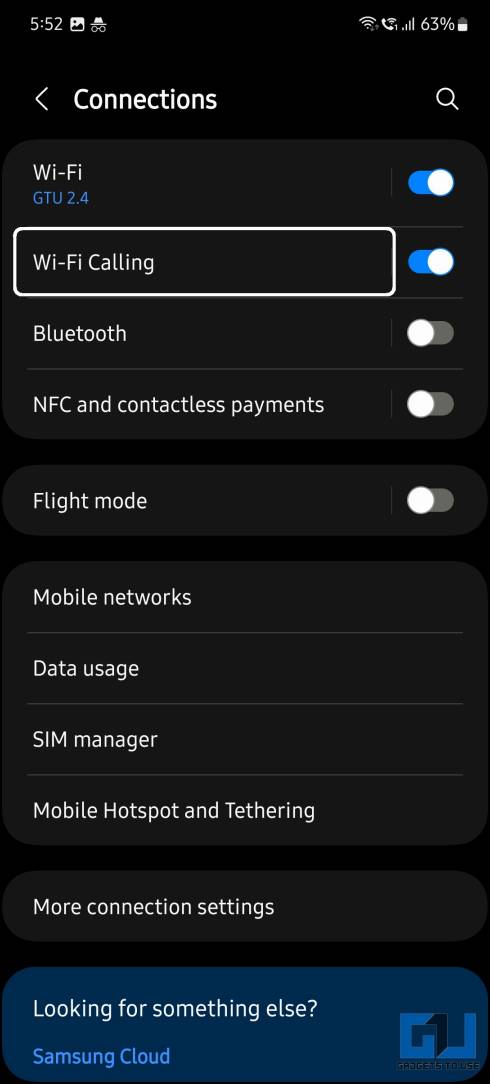
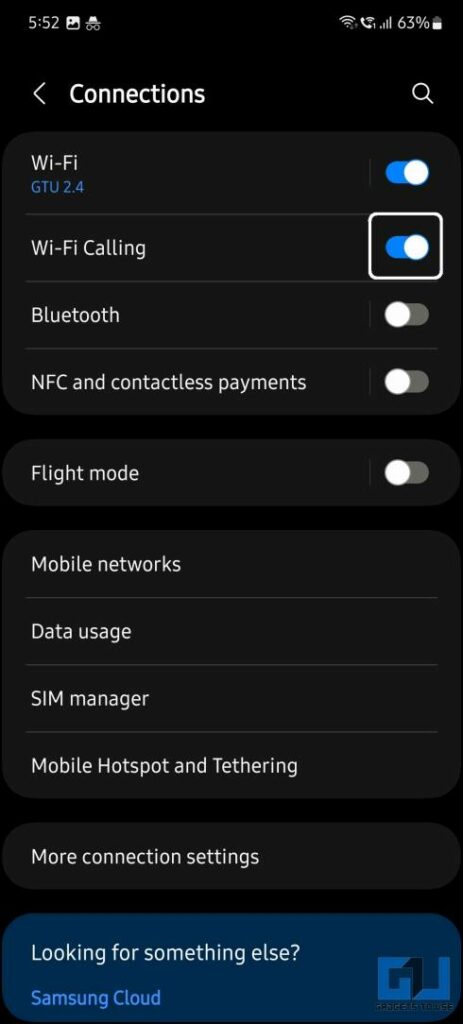
2. Here navigate to the Wi-Fi Calling option, and enable it (if not enabled previously).
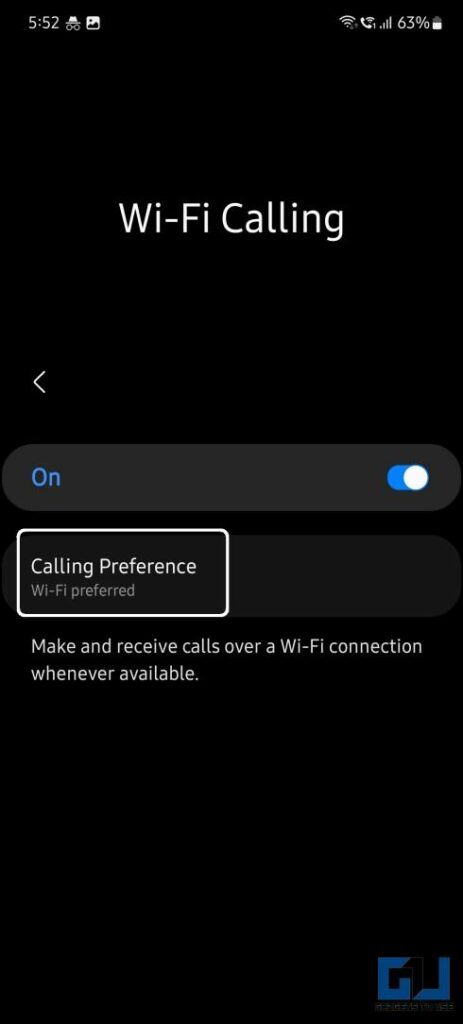
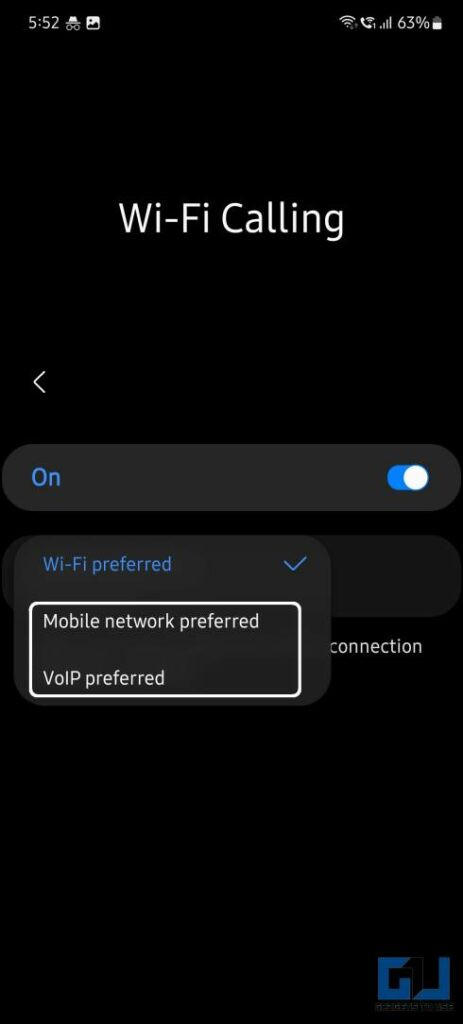
3. Next, tap the Calling Preference menu and set it to Mobile network preferred or VoIP preferred.
Now, you will be able to record the WiFi calls made or received on your phone using the default call recorder option in the call interface.
Use Screen Recording Feature to Record Wi-Fi Calls
If the above method isn’t available on your phone, then you can use the built-in screen recording feature on your Android smartphone to record all your calls over Wi-Fi. Here are the steps that you need to follow to record Wi-Fi calls.
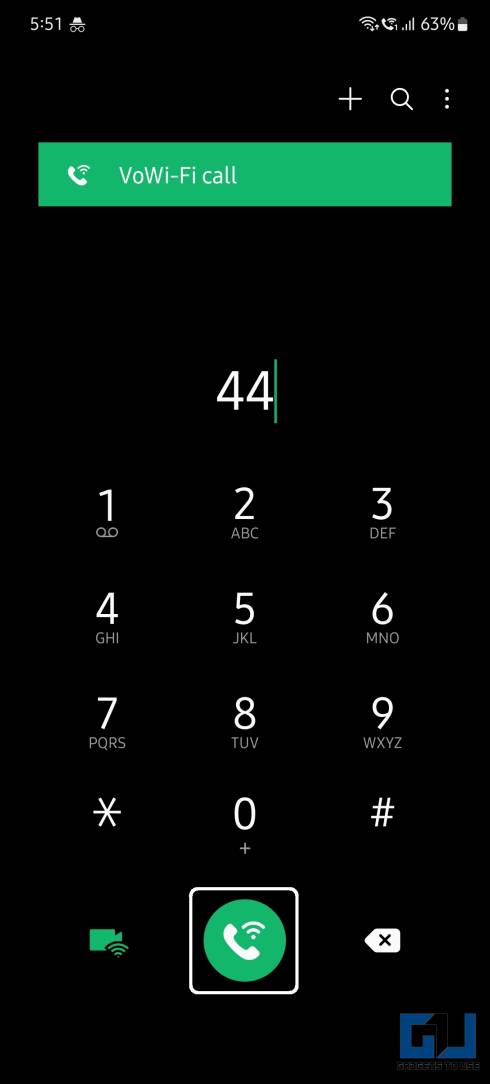
1. Open the Dialer app and make a call to anyone you want.
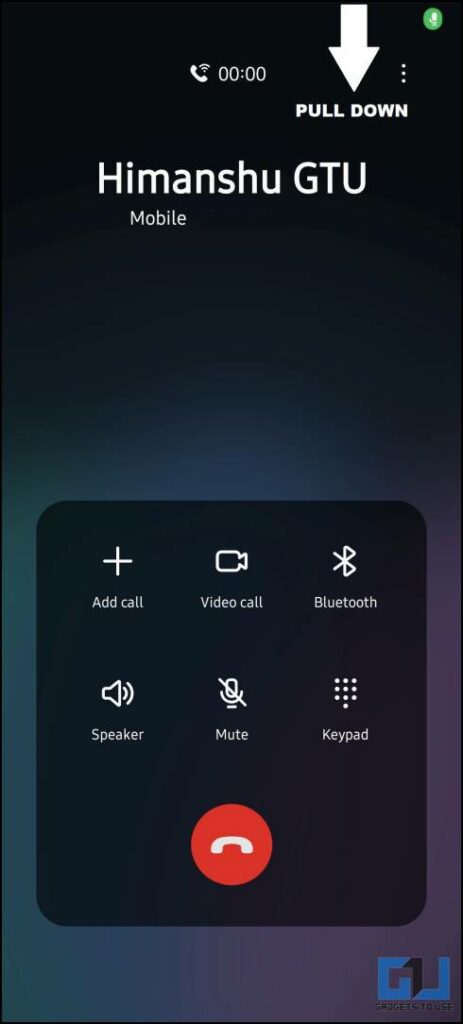
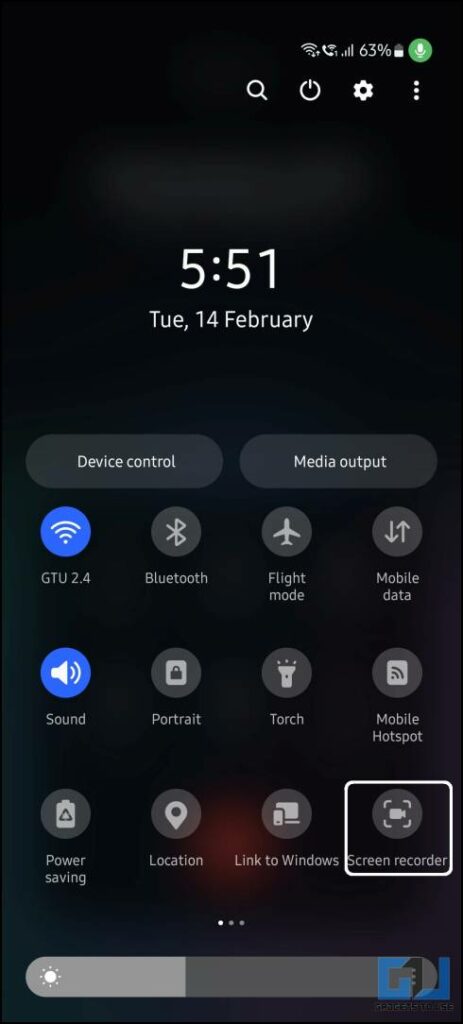
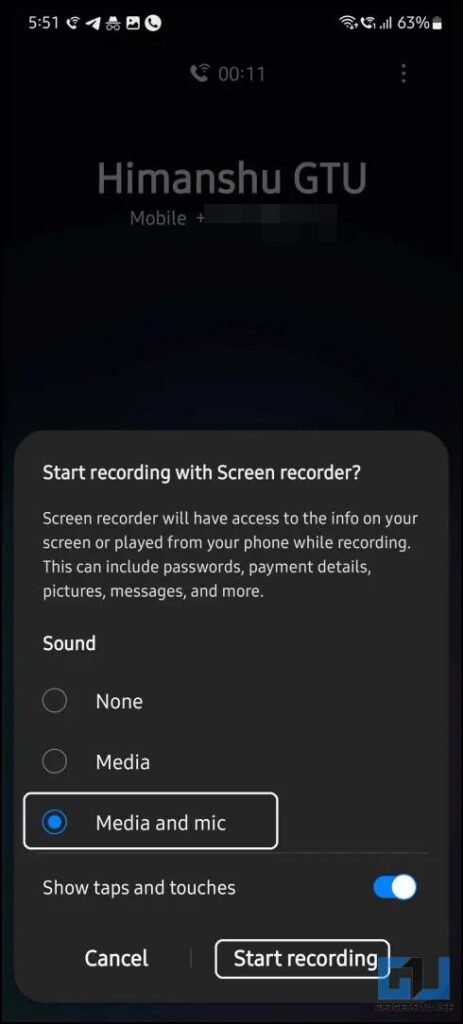
2. Now, Swipe down the notification panel and tap the Screen recording option. (If your phone does not have screen recording, check out our guide for the best Screen recording apps on Android)
3. Next, select the Media and Mic option and then tap the Start Recording button.
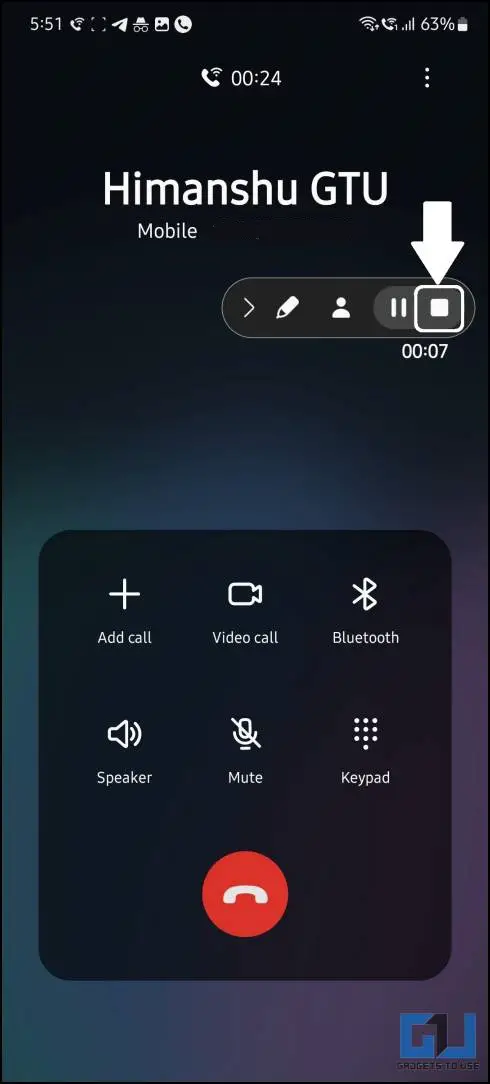
4. Keep the call connected and complete your call.
5. Once, done tap the Stop button to stop the screen recording.
The recording will be saved directly into the Gallery app of the smartphone and you can preview it from there. If you want it in audio file format then you can use any audio extractor app to extract only the audio from the full clip.
Turn off the Wi-Fi Calling Completely to Enable Call Recording
Lastly, you can also completely turn off the Wi-Fi calling feature so you can keep recording calls on your smartphone. To do this, open the Settings app on your smartphone and go to the Connections option. Here you can disable Wi-Fi Calling using the toggle and then you can easily record your calls.
Wrapping Up: Record Wi-Fi Calls on Android
In this read, we discussed the methods to record voice calls, made over Wi-Fi on your Android smartphone. The methods mentioned above will surely help you record calls done when Wi-Fi calling is enabled on your phone if it still struggles then you can always disable Wi-Fi calling if the network reception is good in your area. Share this with someone who is looking to record wifi calls, and stay tuned to GadgetsToUse for more such reads.
Read More
You can also follow us for instant tech news at Google News or for tips and tricks, smartphones & gadgets reviews, join GadgetsToUse Telegram Group or for the latest review videos subscribe GadgetsToUse Youtube Channel.
[ad_2]
Source link

