6 Ways to Convert Live Photos to Still Images on iPhone

[ad_1]
With Live Photos turned on, your iPhone captures the moment before and after you’ve taken the picture. These photos consume a lot of storage. And while you can easily turn off the Live Photos feature, removing the live video from photos that have already been clicked or converting them to still images can be tricky. Therefore, in this article, we’ll tell you how to convert Live Photos to still images on your iPhone or iPad.
What are Live Photos on iPhone or iPad?
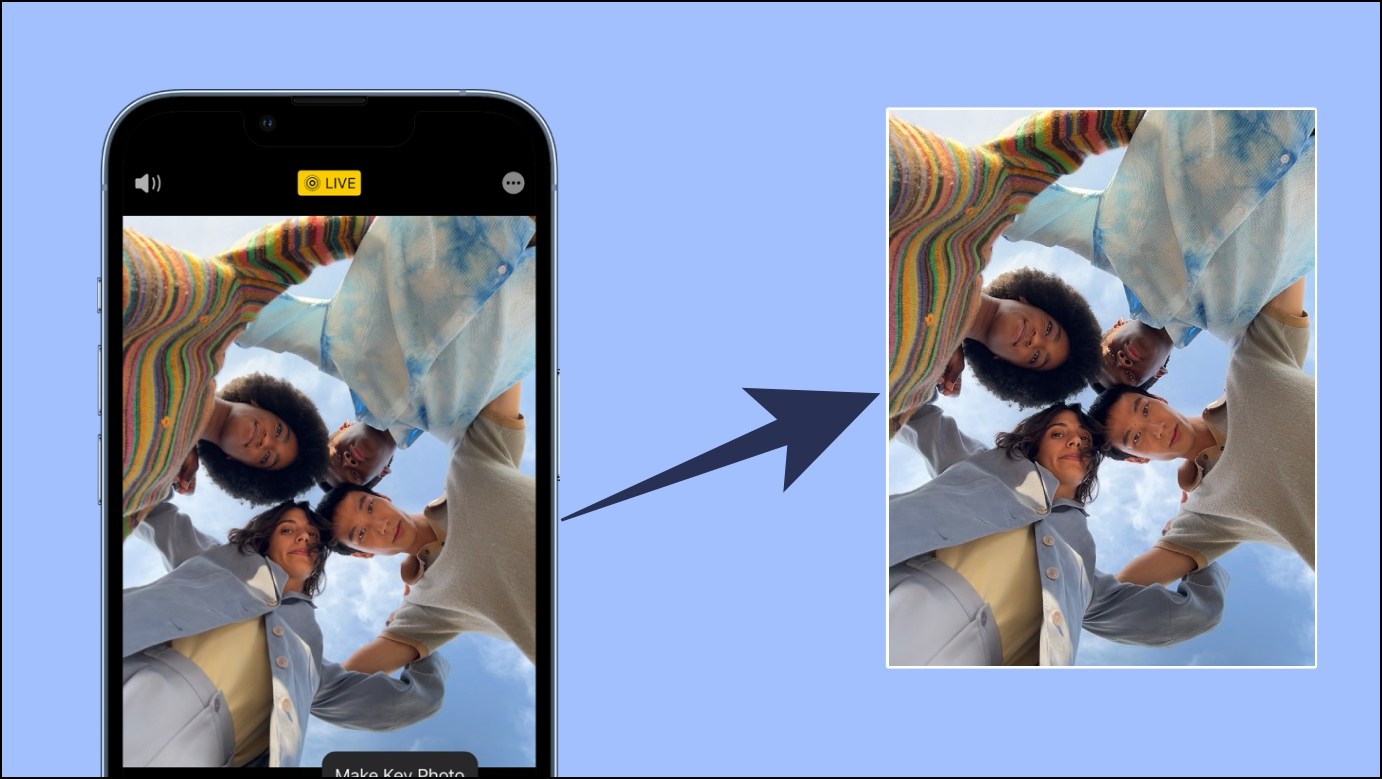
Live Photos is an iPhone Camera feature that captures what happens 1.5 seconds before and after you take a picture, including the audio. These photos appear like a video. In a live photo, you can select the key frame of your choice, add a fun effect, as well as edit your live photos.
While the feature brings moments from your photos to life, it has its own pros and cons, given below.
Advantages of Live Photos
- It captures much more than a single photo and makes the moment lively.
- You can choose from multiple frames after capturing the photo.
- You can share export and share live photos as a video.
Disadvantages of Live Photos
- It takes almost twice the space of a still image and can quickly fill your iPhone and iCloud storage.
- The frame rate (15fps) is too low.
- Since it picks audio, you must be careful about what’s being said while clicking the picture.
- It records the moment before and after tapping the shutter and can record something you didn’t want it to.
How to Disable Live Photos Already Taken on iPhone?
There are several ways to convert an existing live photo to a regular image on iPhone or iPad. You can either duplicate it as a still, temporarily disable the live feature for the image, or save it via different apps to get rid of the live video. And yes, it’s also possible to turn off live for existing photos in bulk. Read on.
Method 1- Duplicate Live Photos as Still Images on iPhone
You can easily convert already taken live photos to normal images by duplicating them as still. Here’s how to do it on your iPhone:
1. Launch the Photos app on your iPhone and open the live photo you want to convert to a non-live image.
2. Click the three-dot menu in the top right corner.

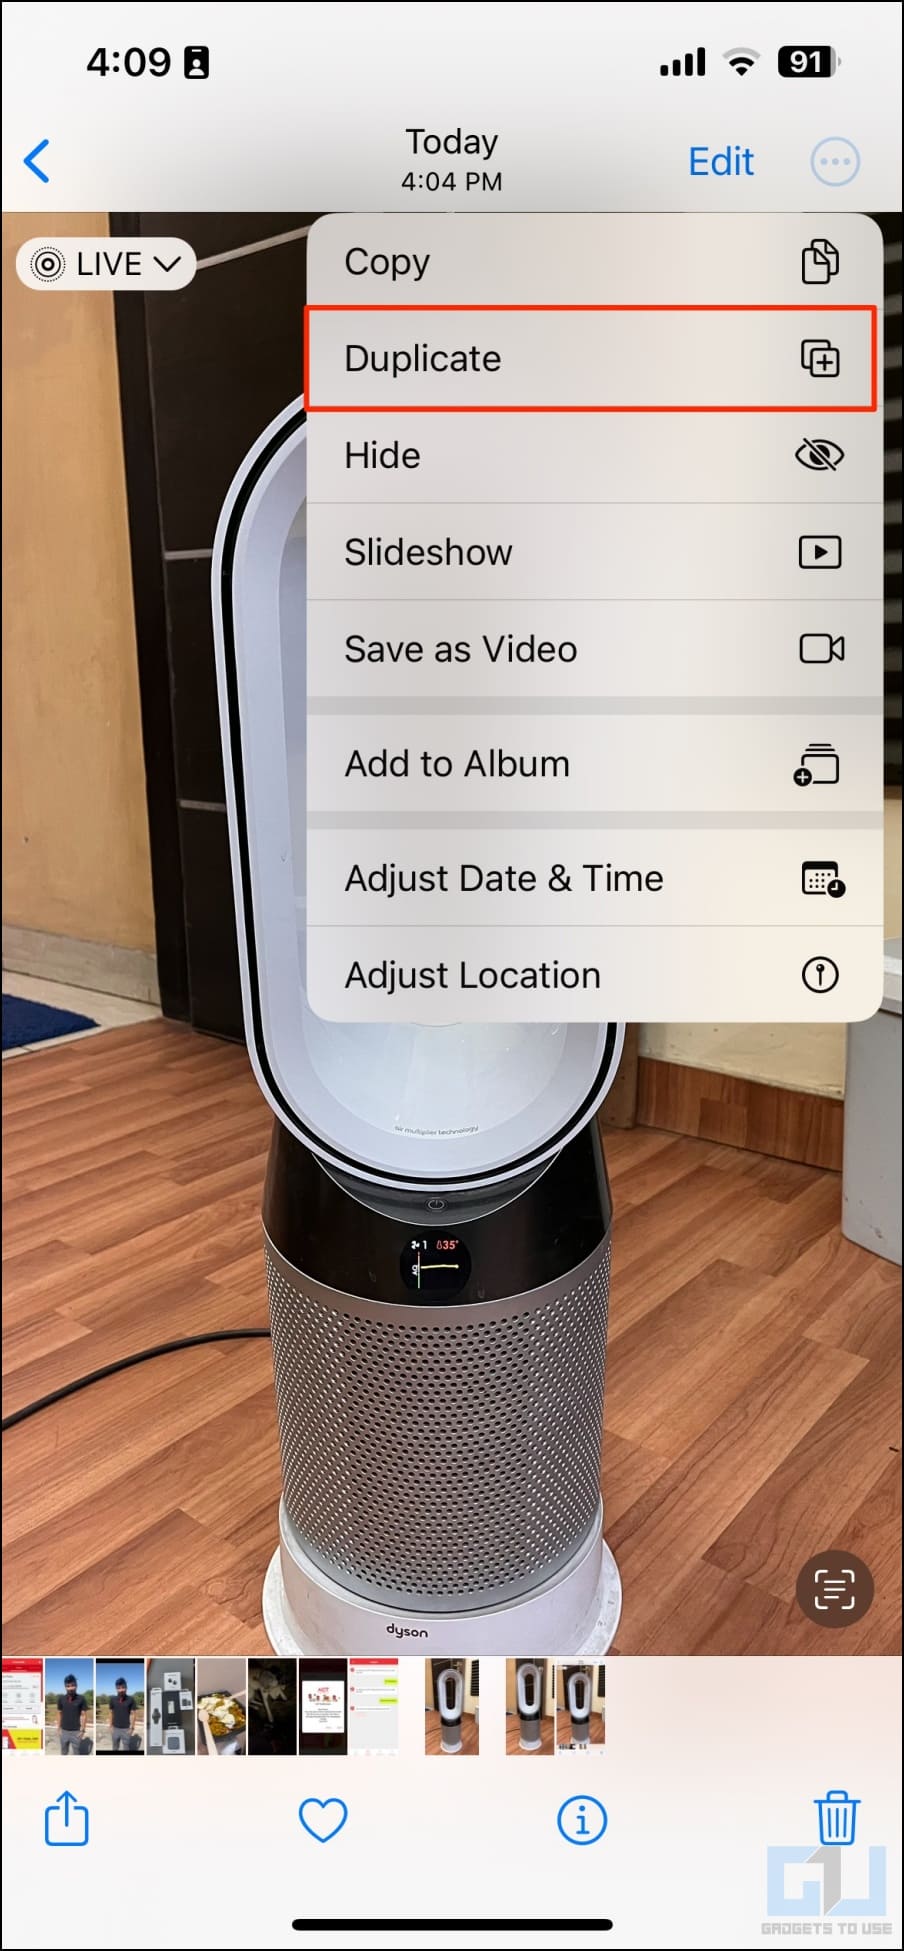
3. Select Duplicate from the options that appear.
4. Click on Duplicate as Still Photo.
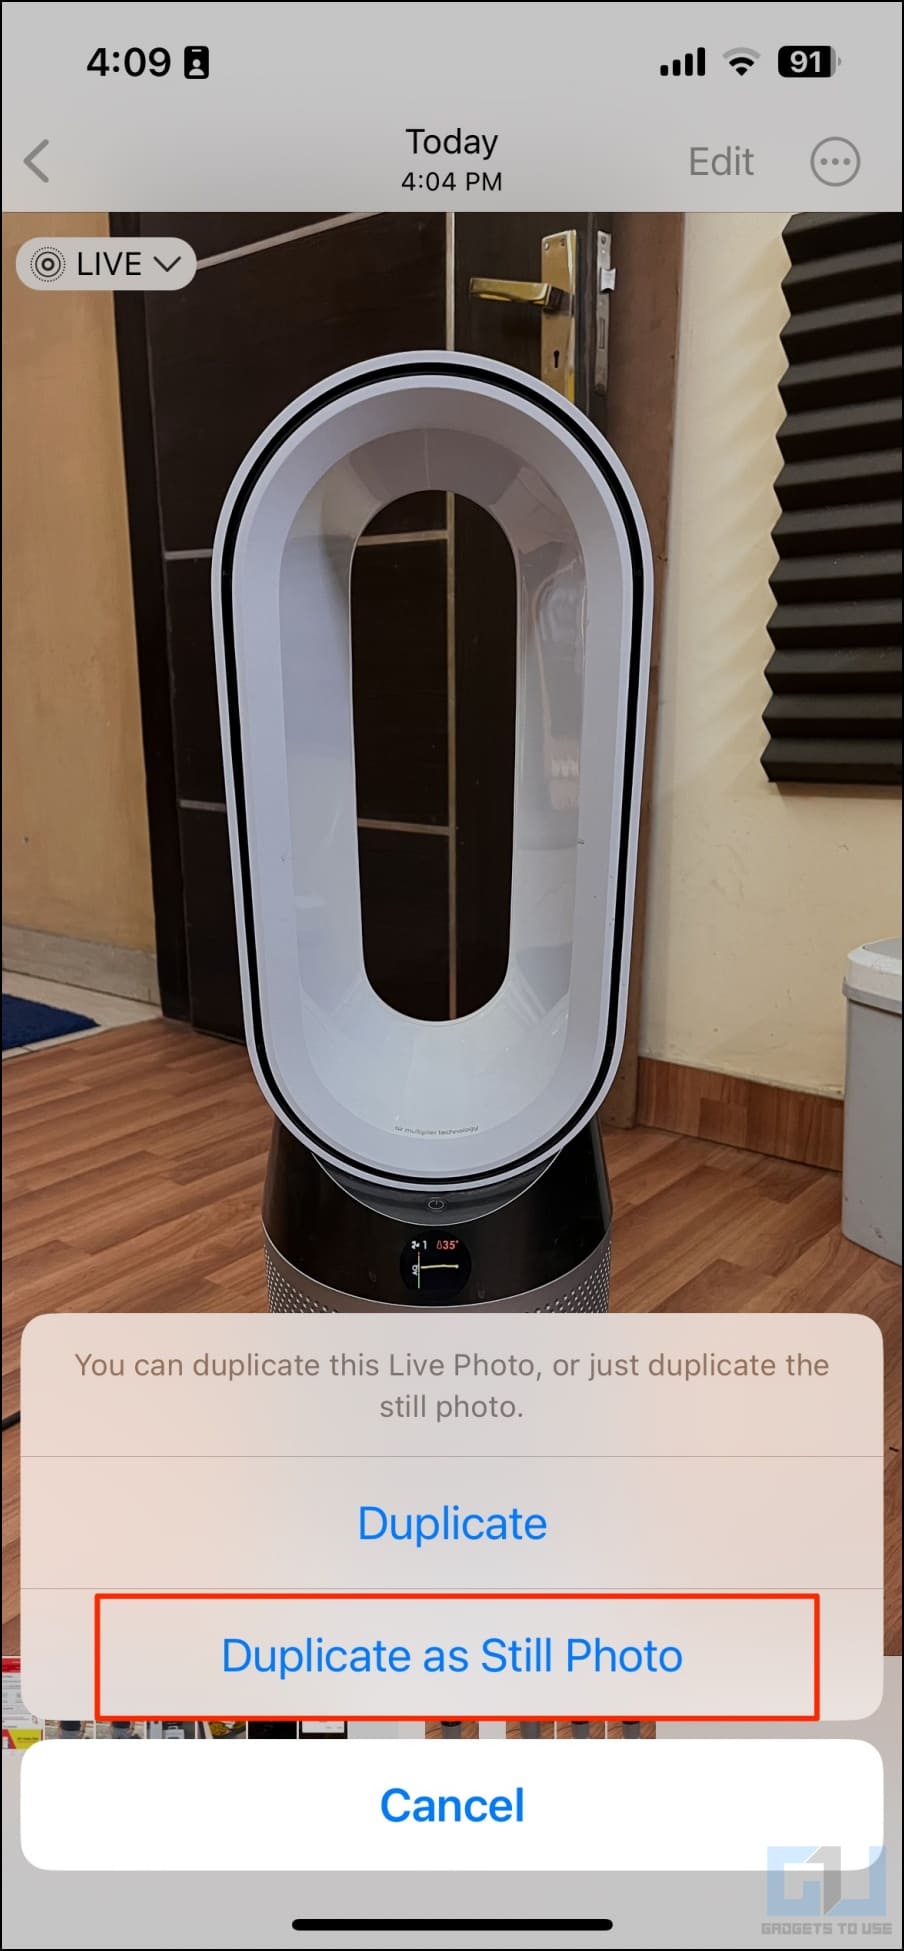
The iPhone will now duplicate the live photo as a still image in the gallery. You can now delete the live photo to free up storage.
Method 2- Quickly Turn Off Live Playback for Photos
Apple also allows you to turn off live playback for certain photos temporarily. You can re-enable the live effects whenever required. Here’s how to do it:
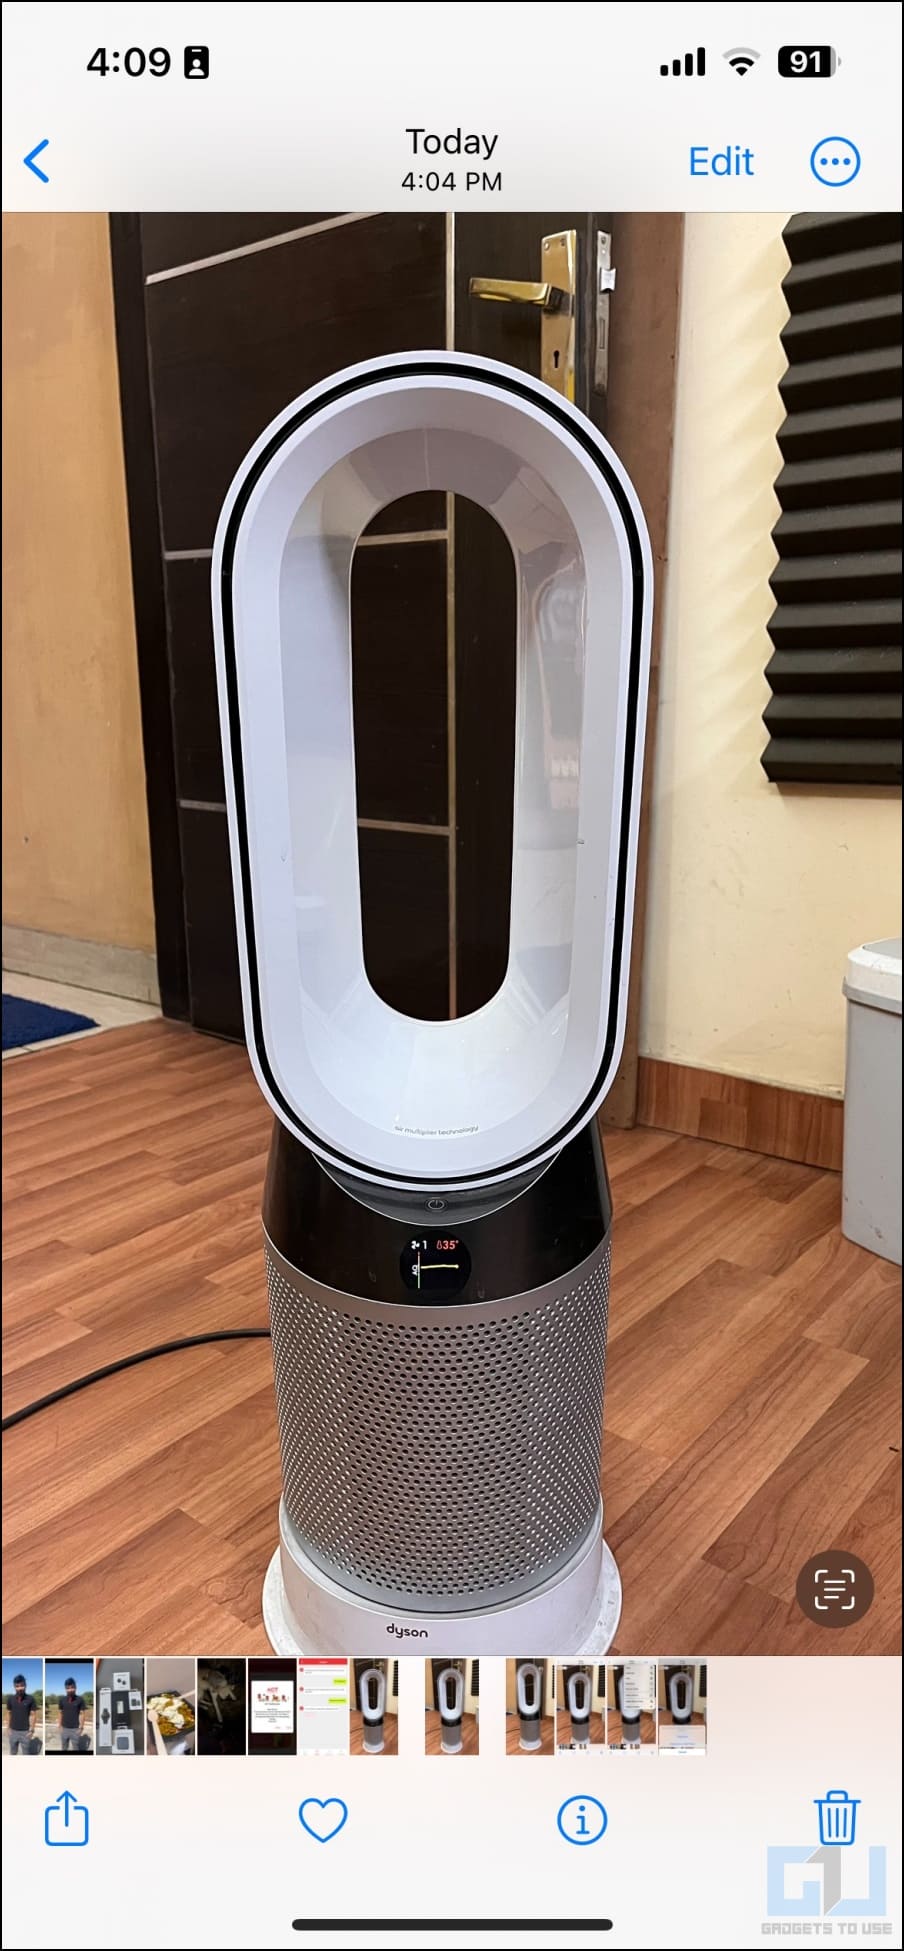
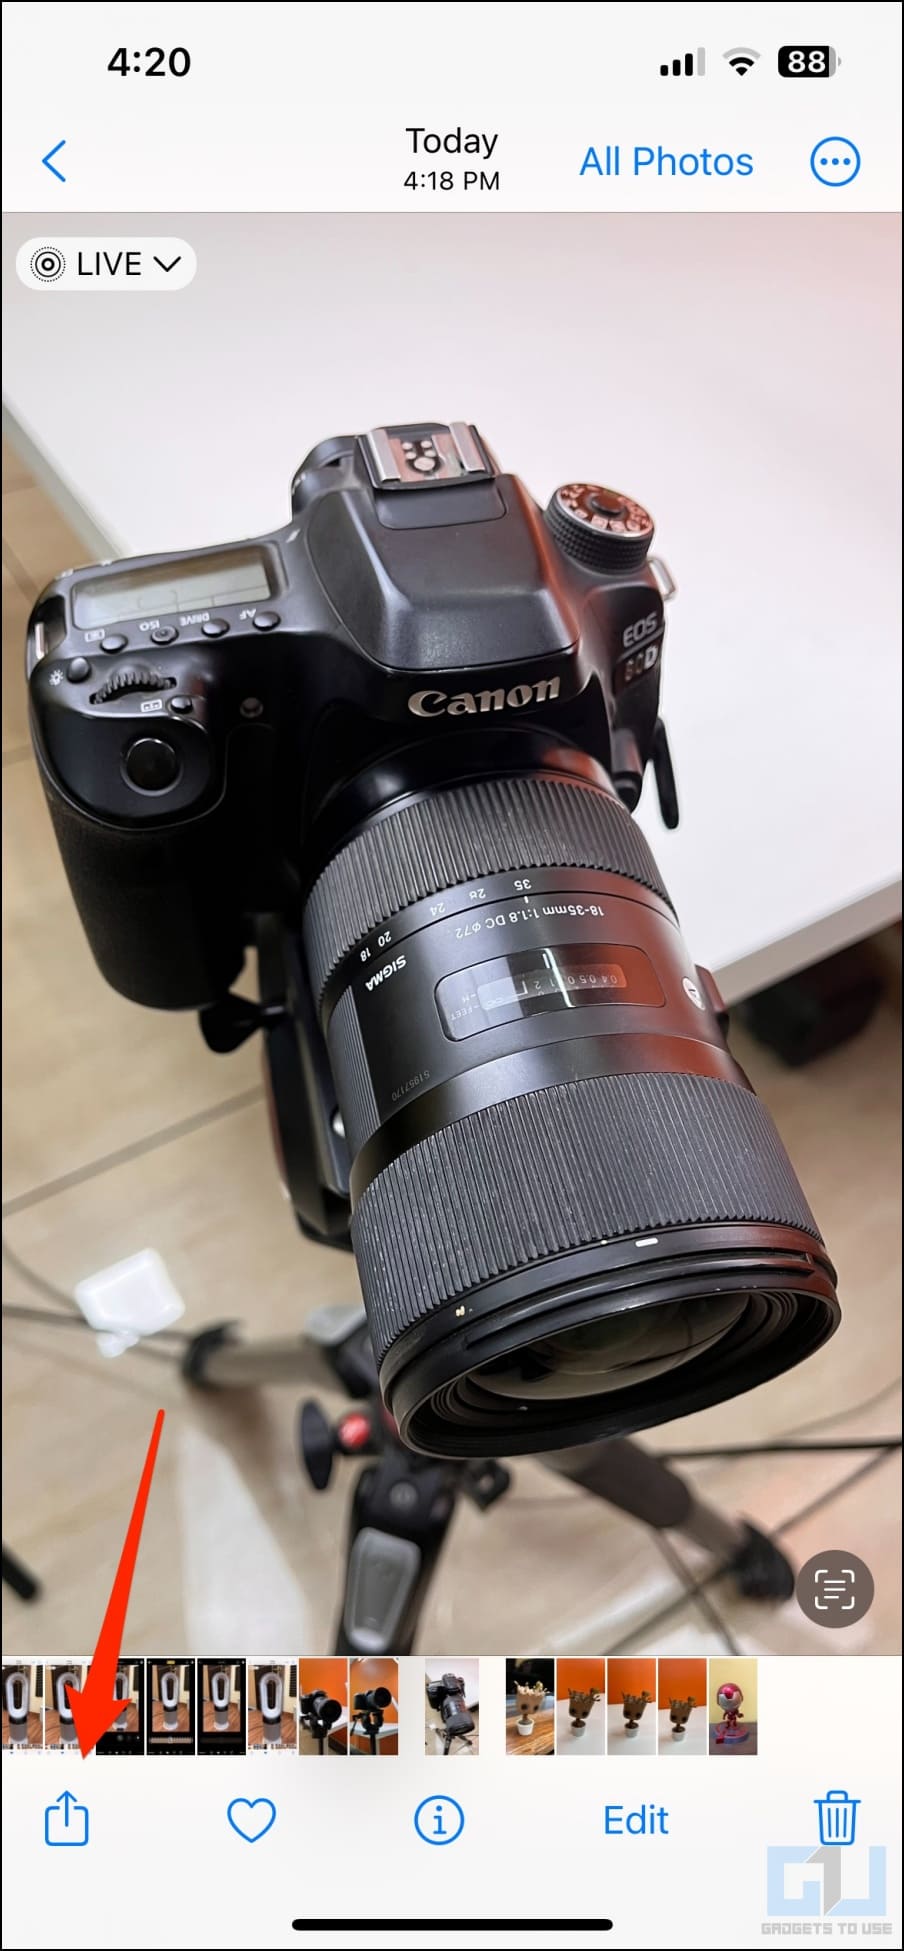
1. Open Photos and head to the live photo you want to show up as a still image.
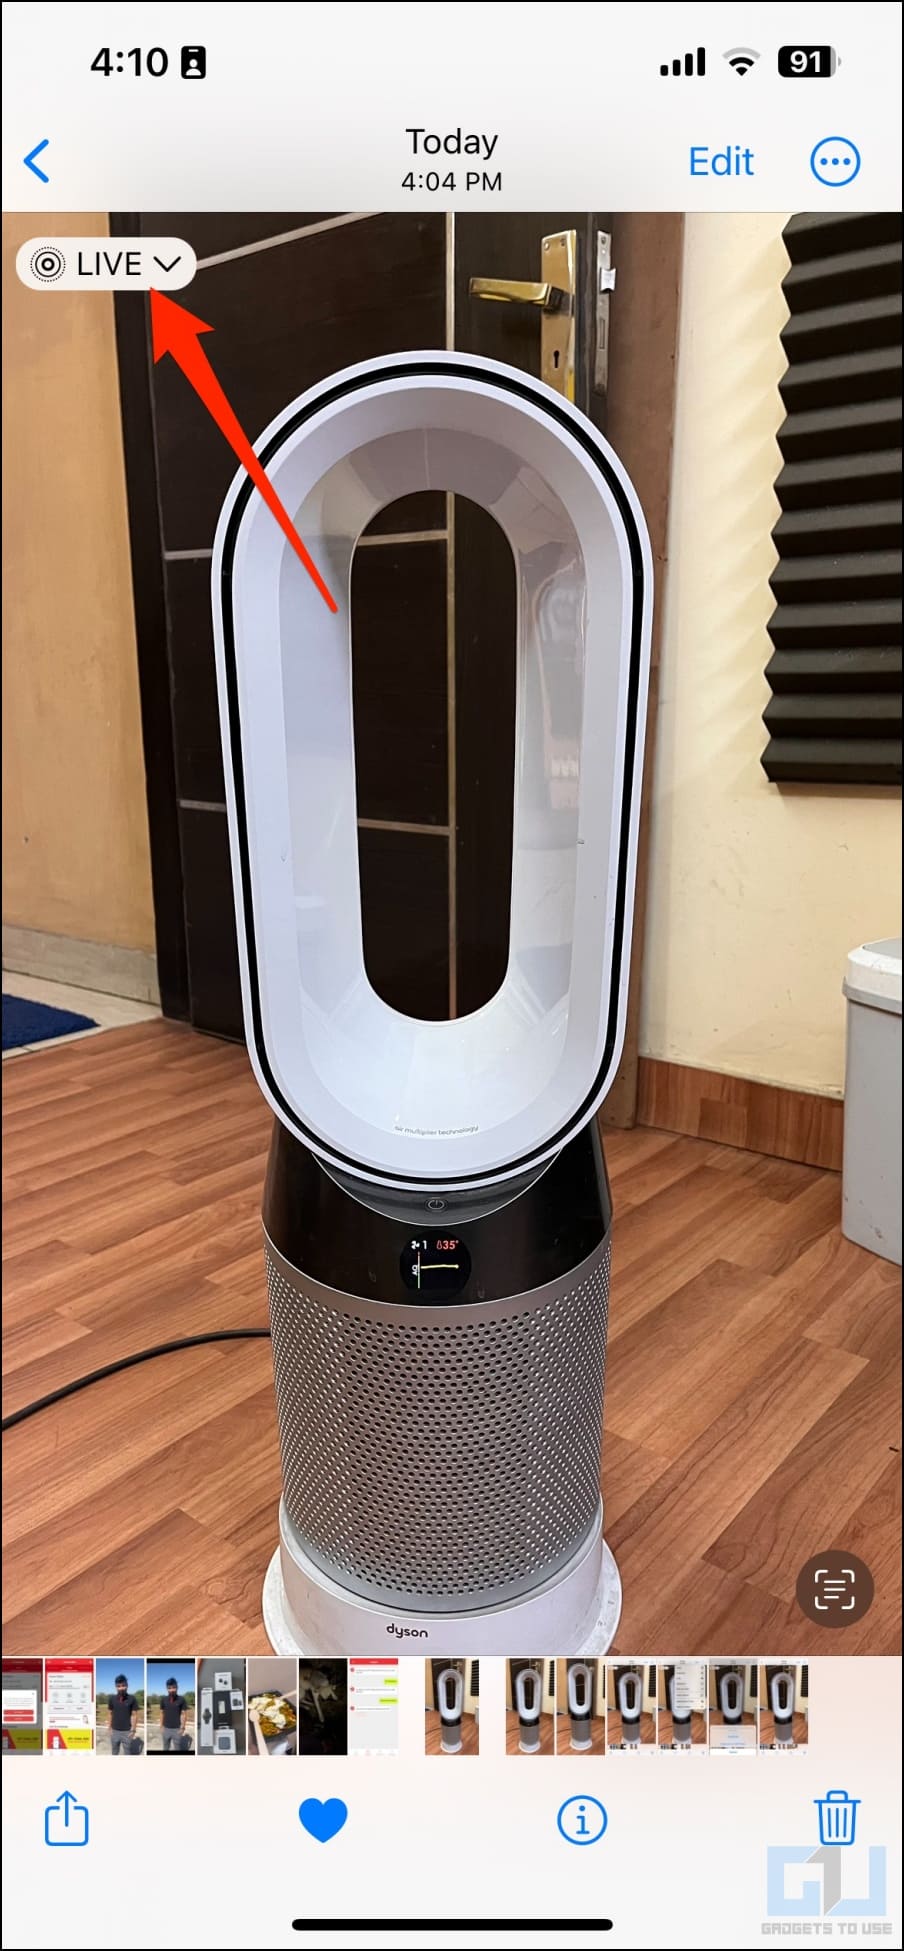
2. Click on the Live button at the top left.
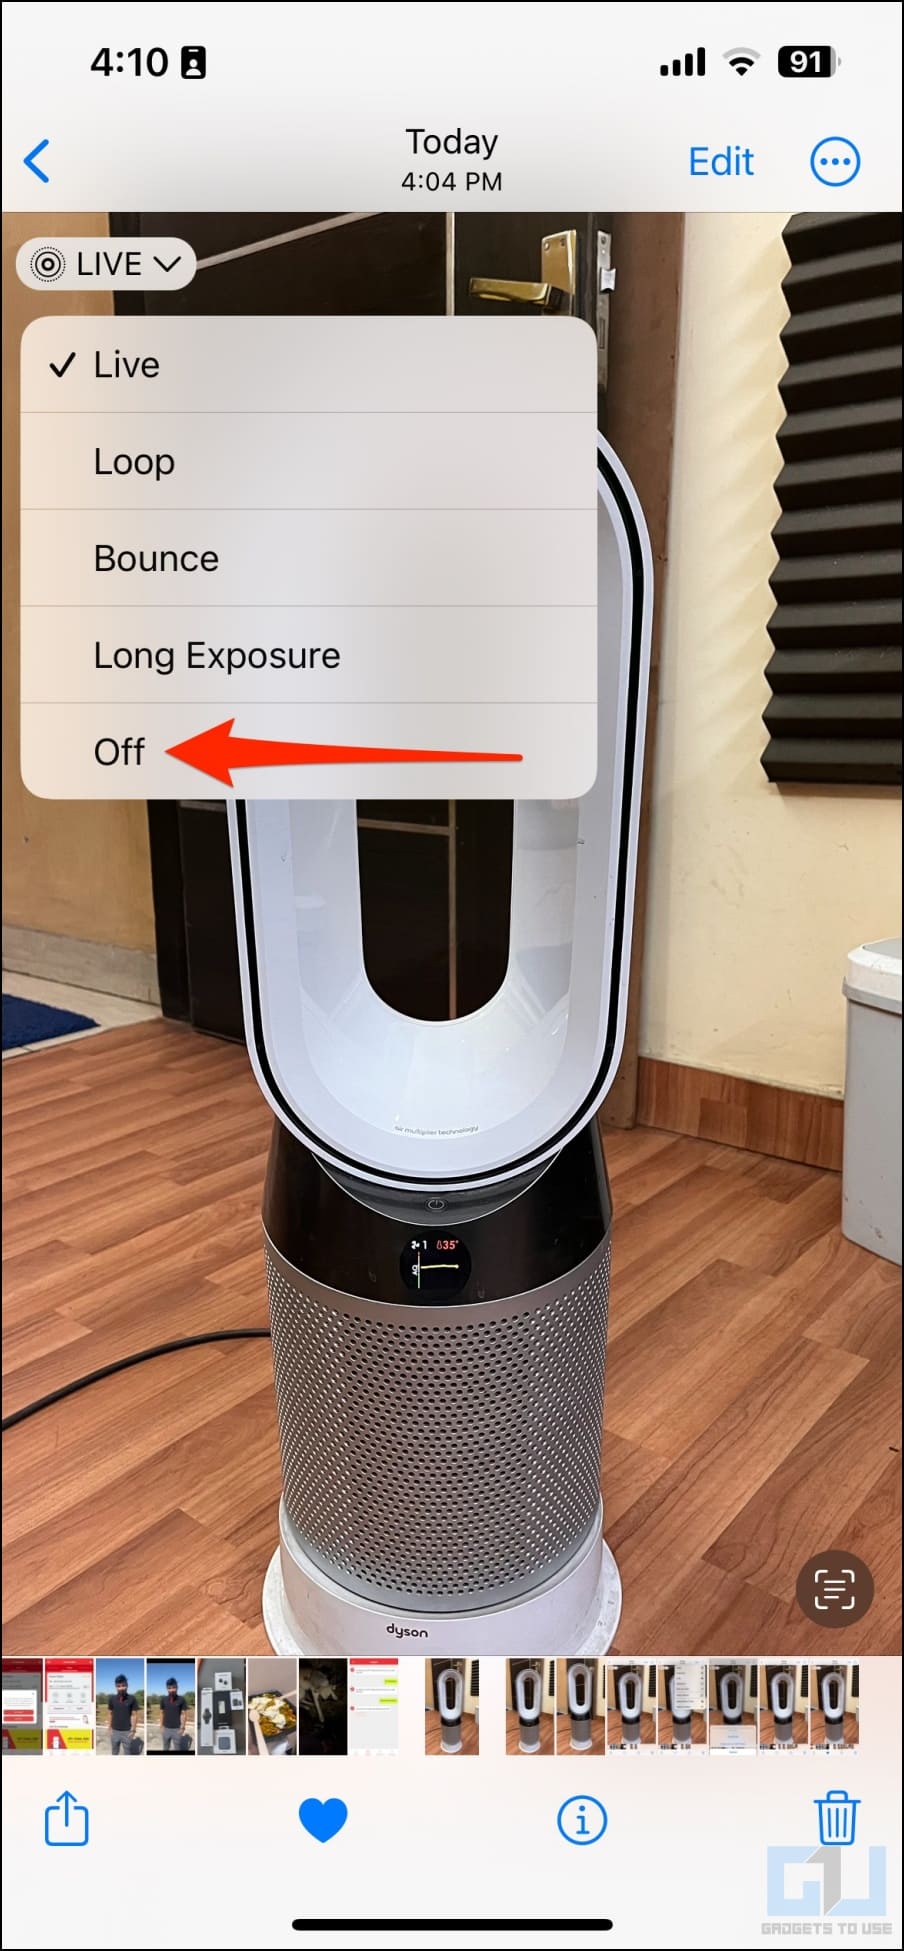
3. Change it from Live to Off.
OR
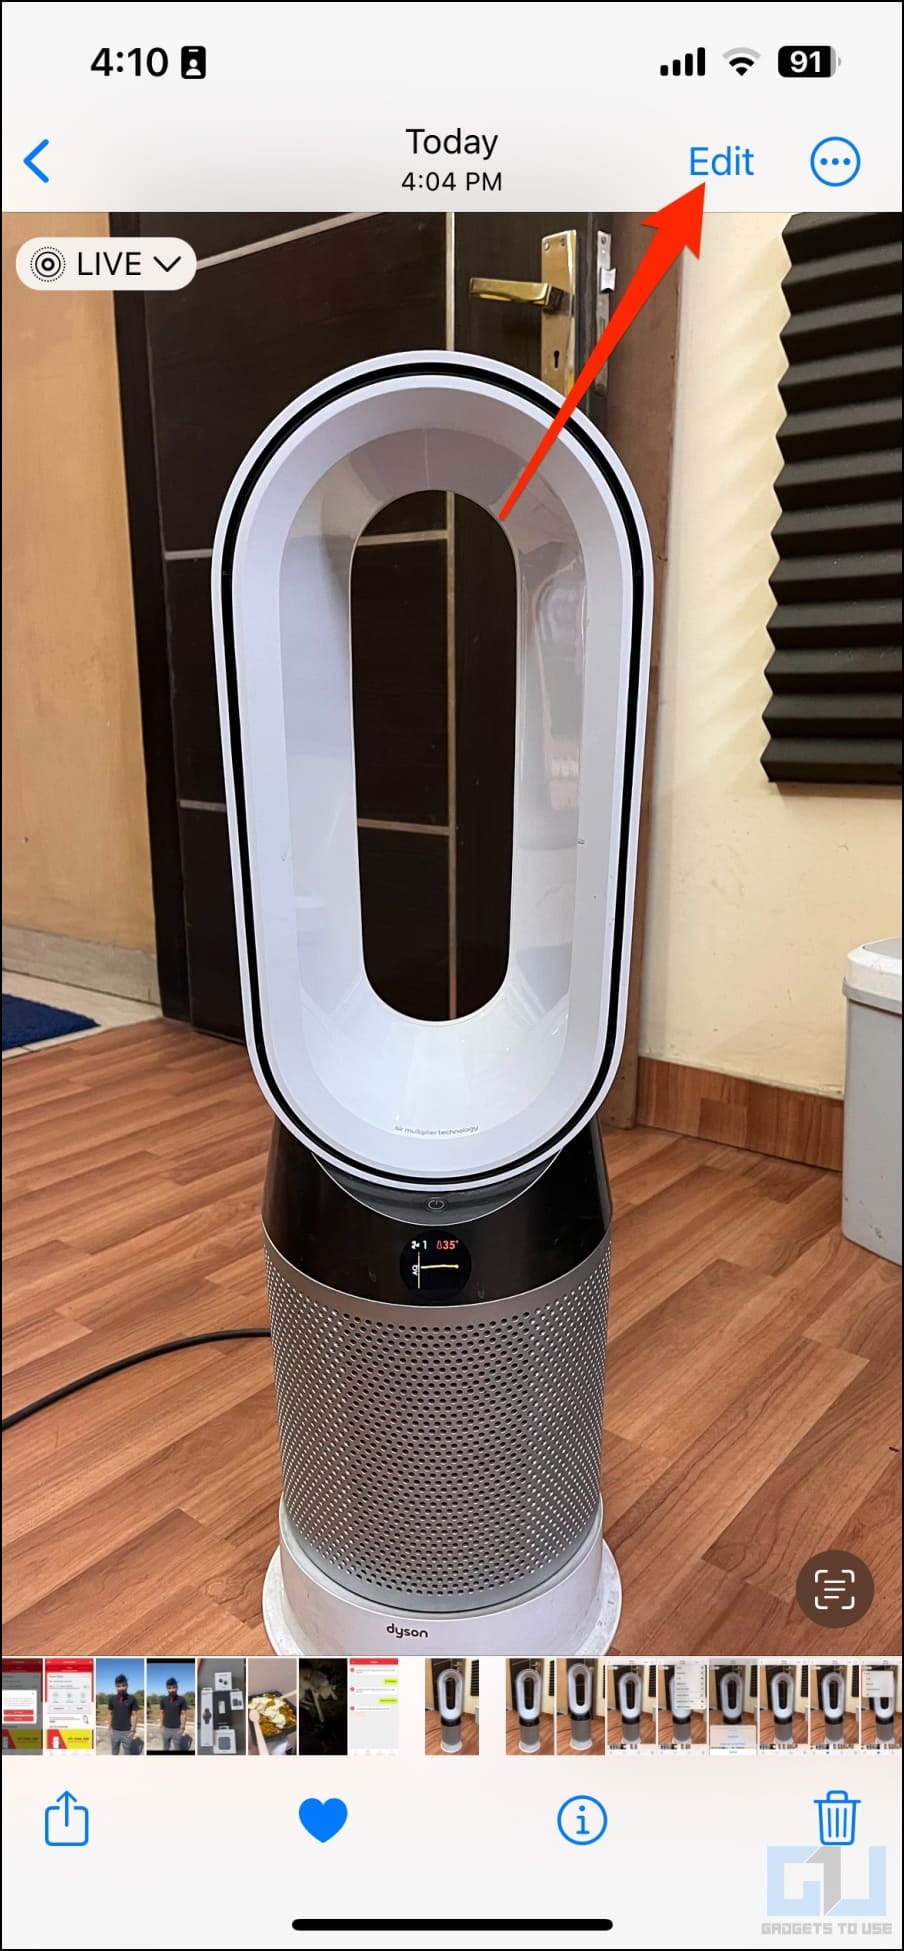
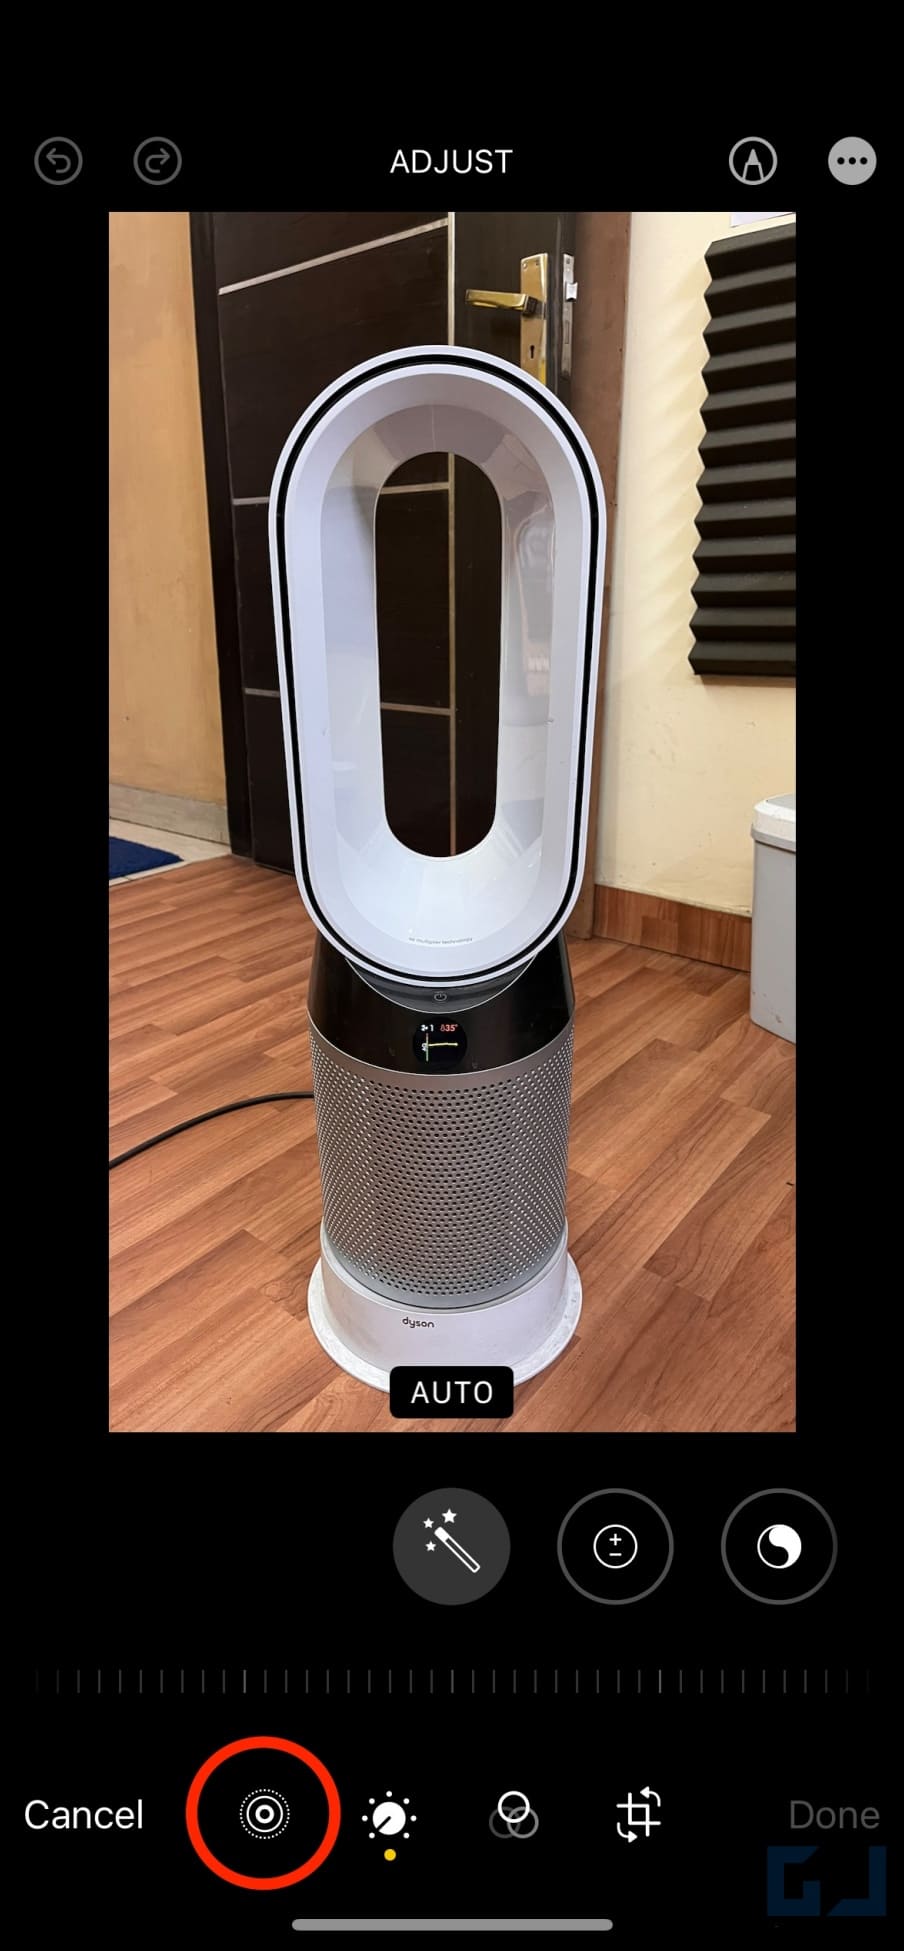
1. Open the photo and tap Edit at the top right corner.
2. Select the Live Photos icon from the edit menu at the bottom.
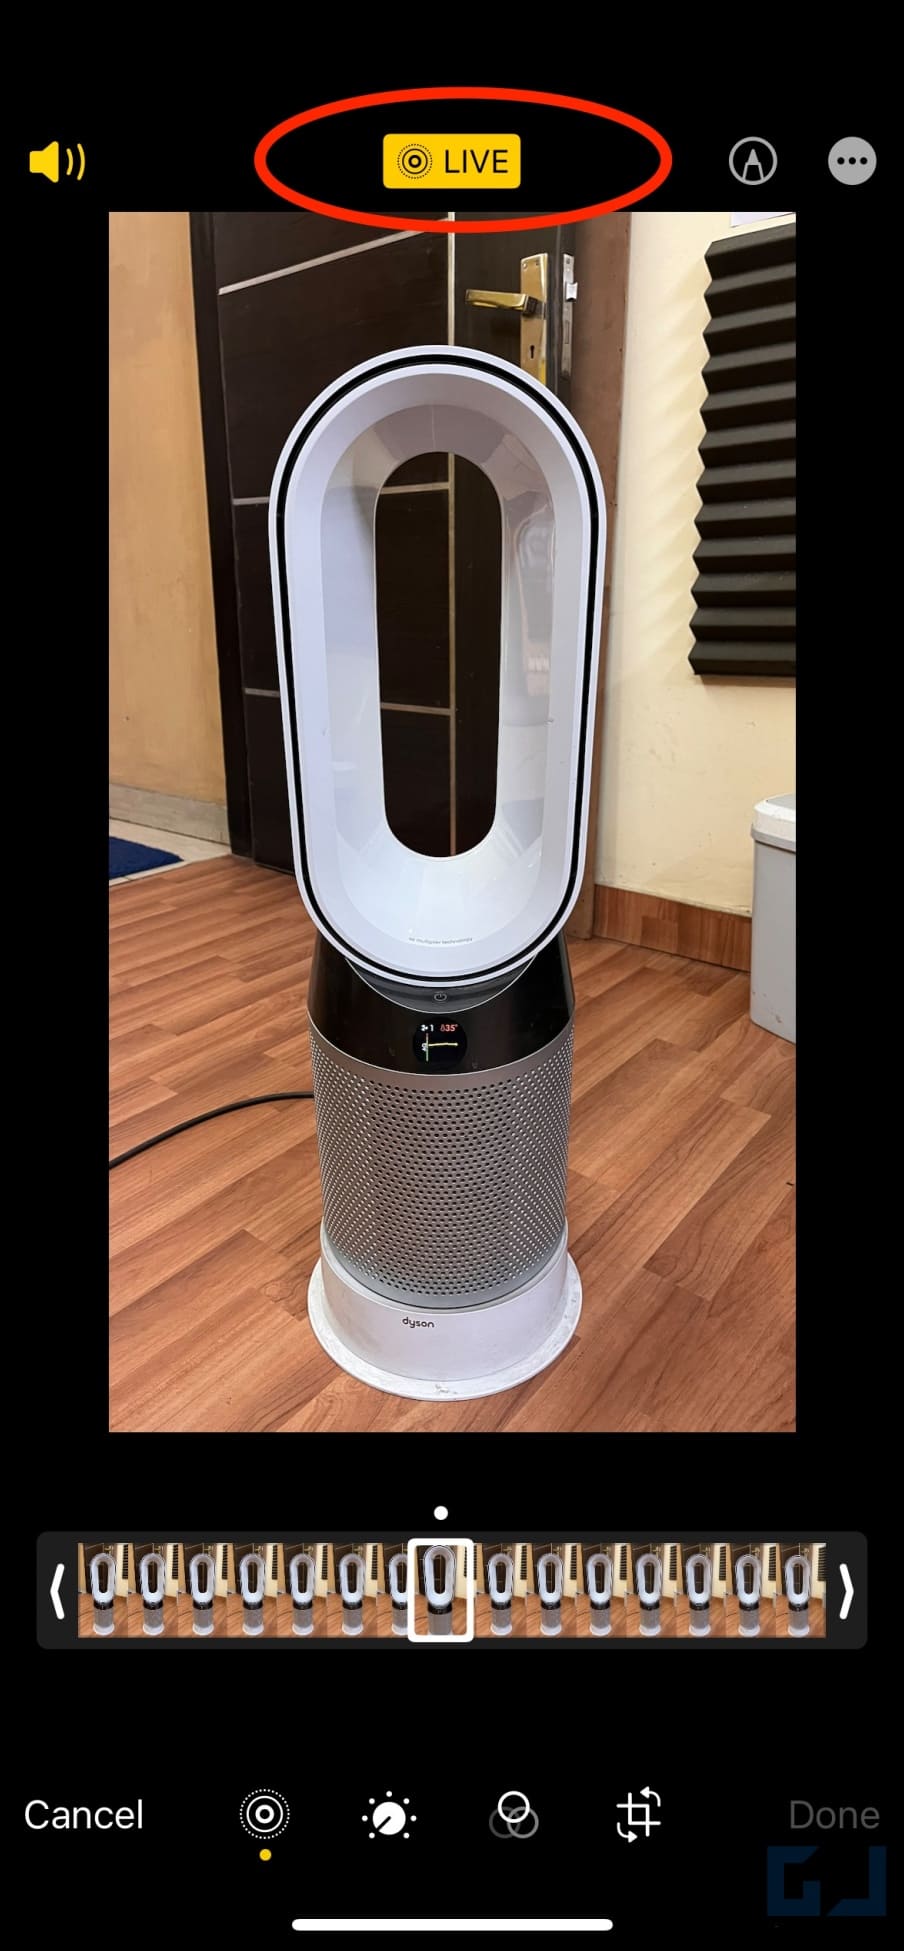
3. Next, tap the LIVE button on the top to turn off the feature.
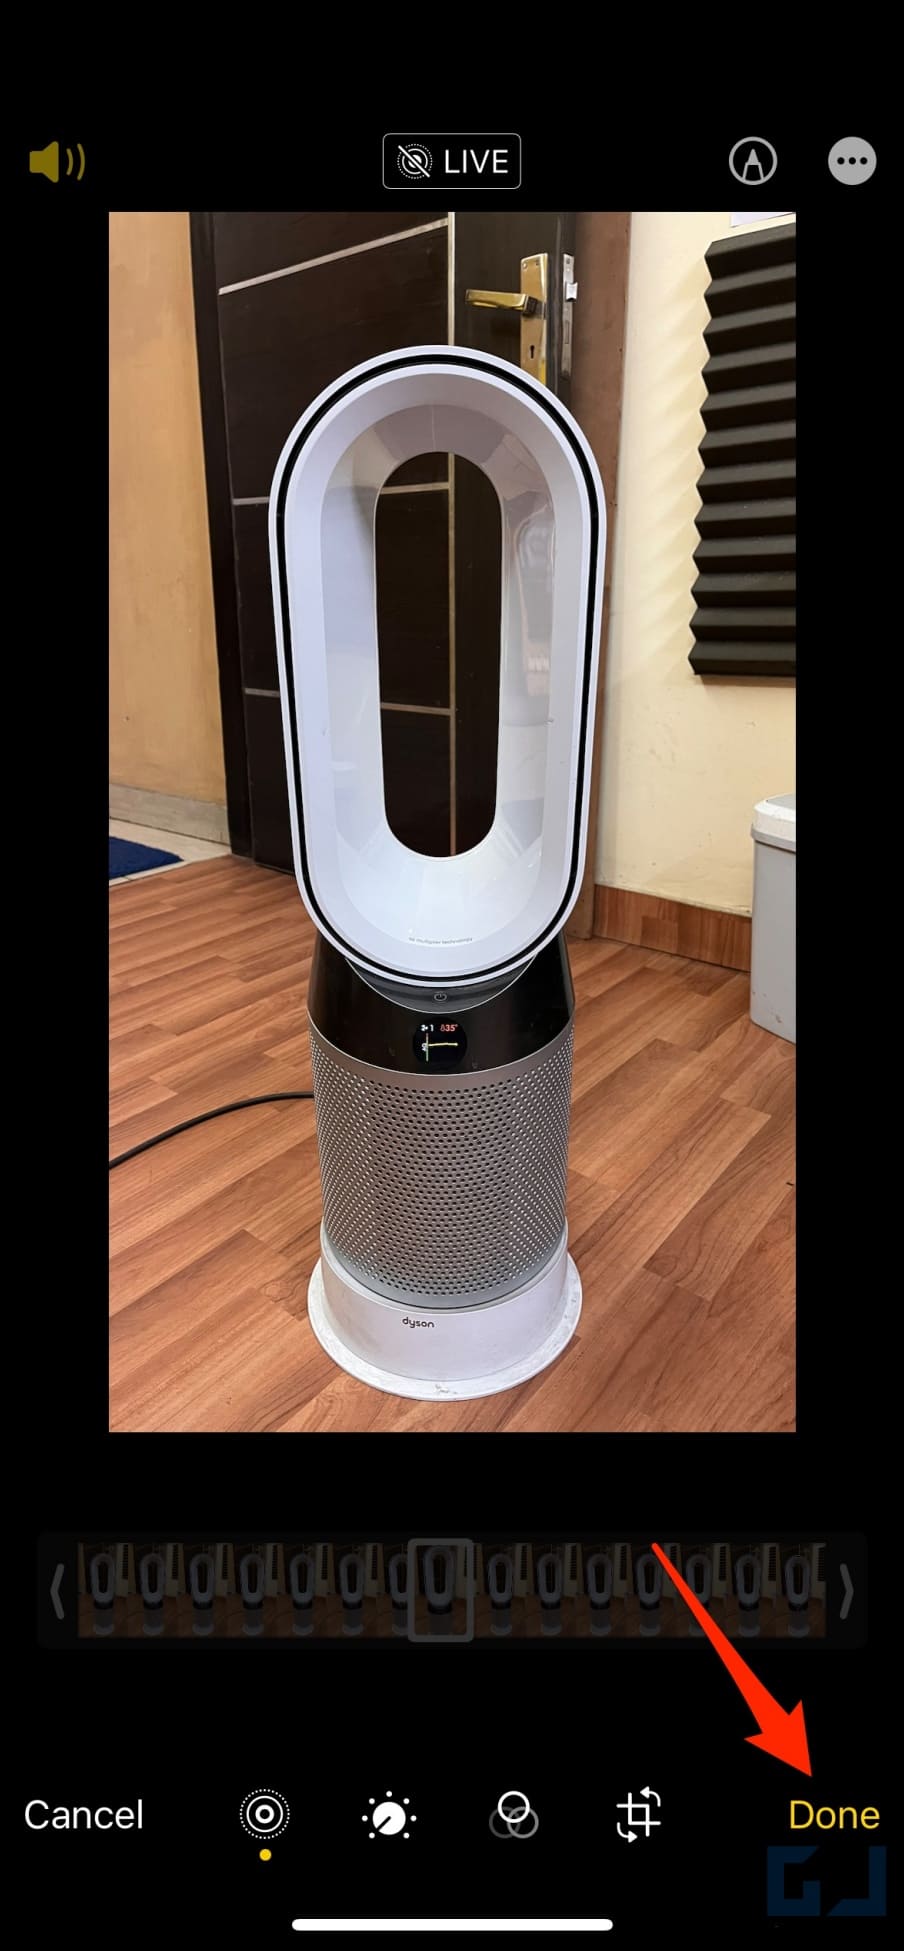
4. Finally, tap Done at the bottom right to save the image.
Method 3- Convert Live Photos to Still Using Notes
The Photos app allows you to share and save any picture directly to a note on your iPhone. When you save a live photo in a note and then save it back as an image, you get a still image, as shown below:
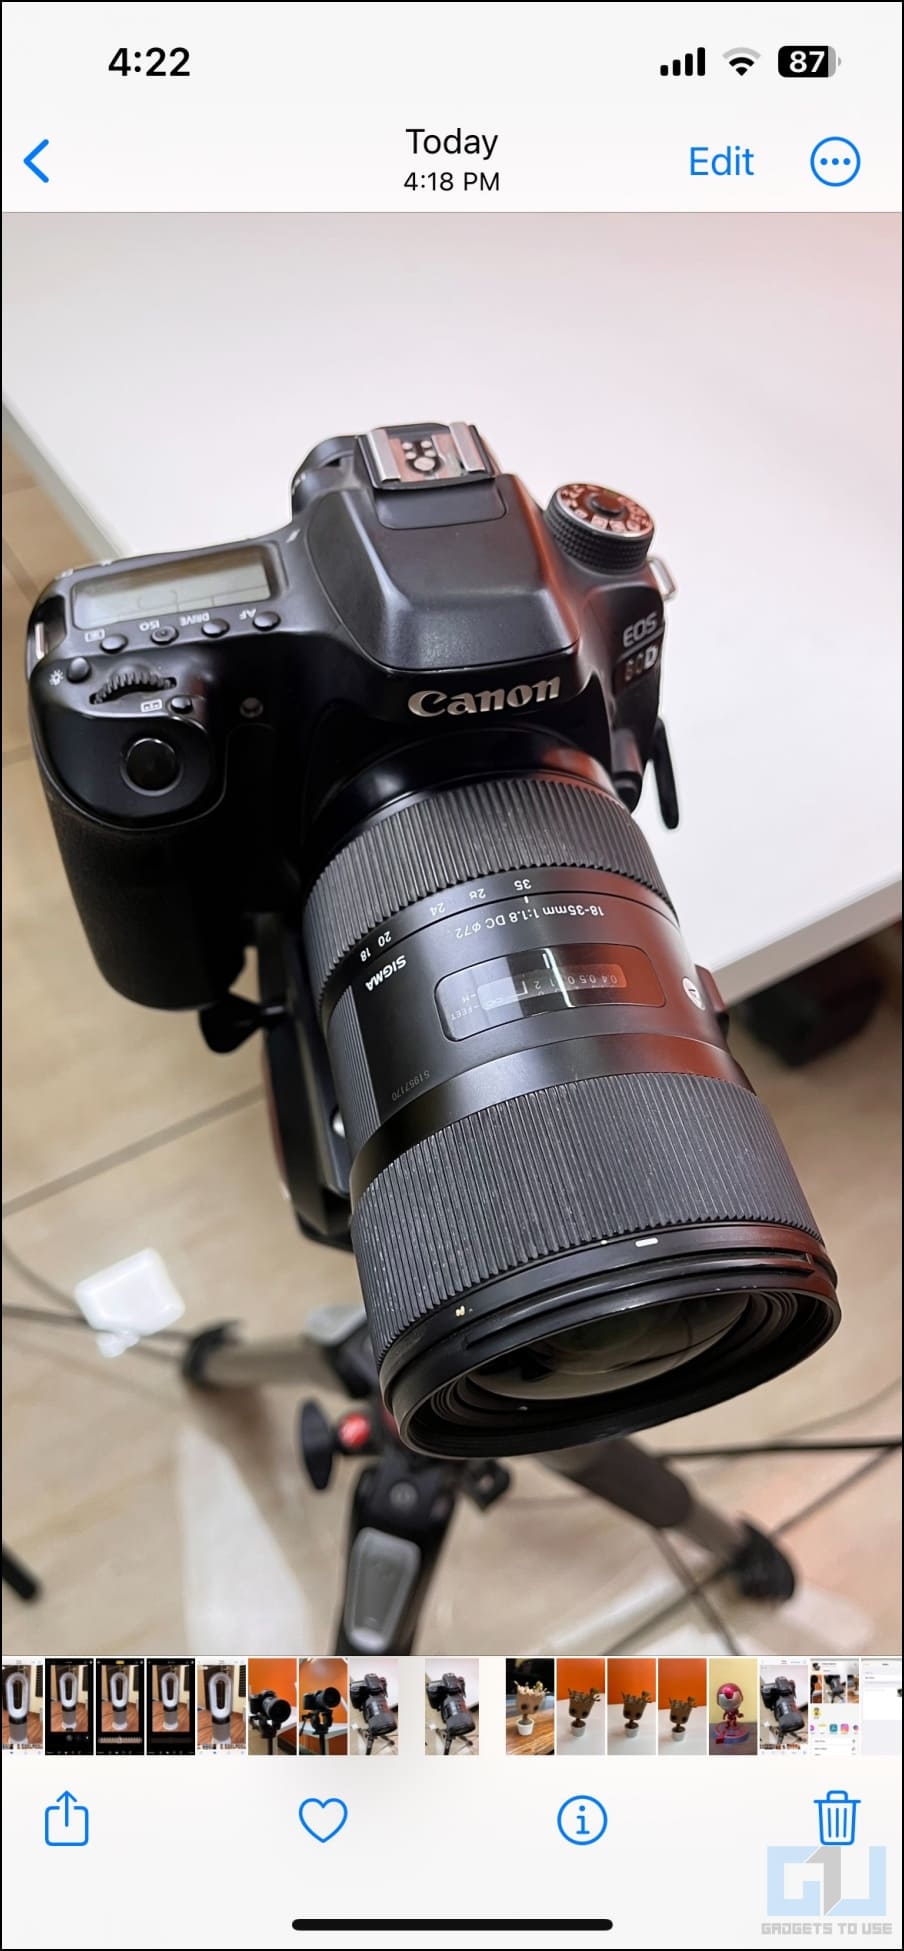
1. Open Photos and head to the live photo you want to convert to still.
2. Click on the Share button at the bottom left.
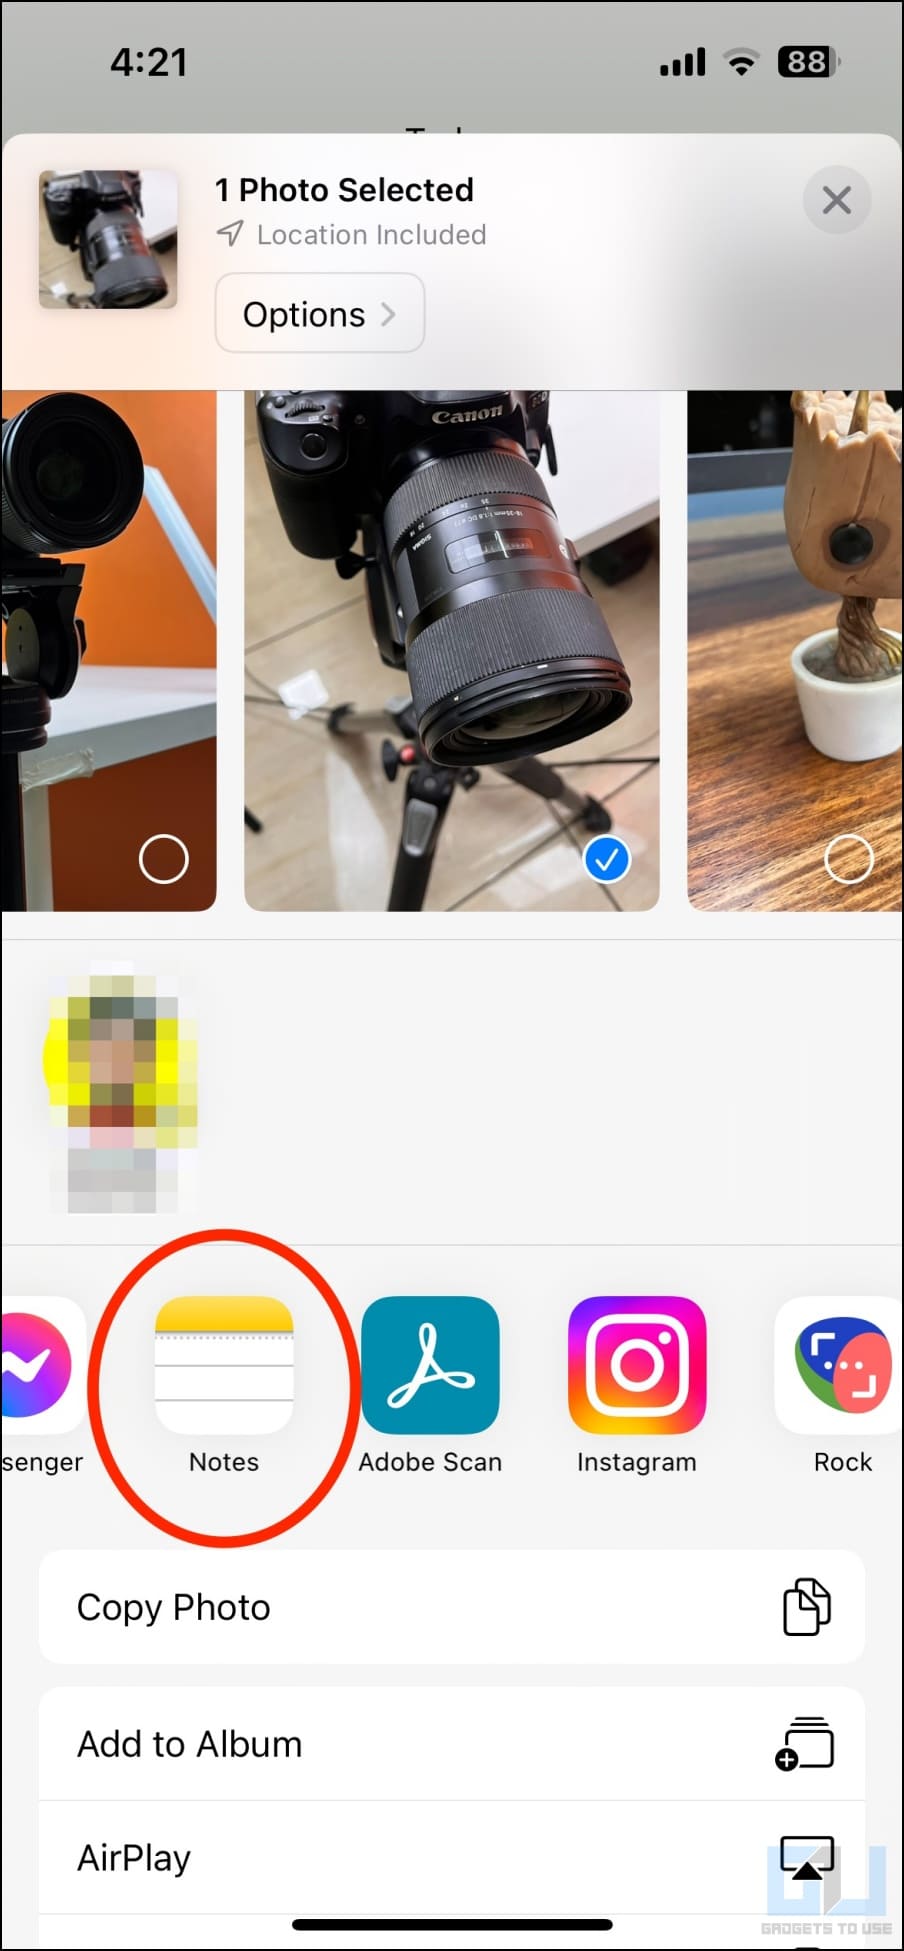
3. Select Notes from the list of apps.
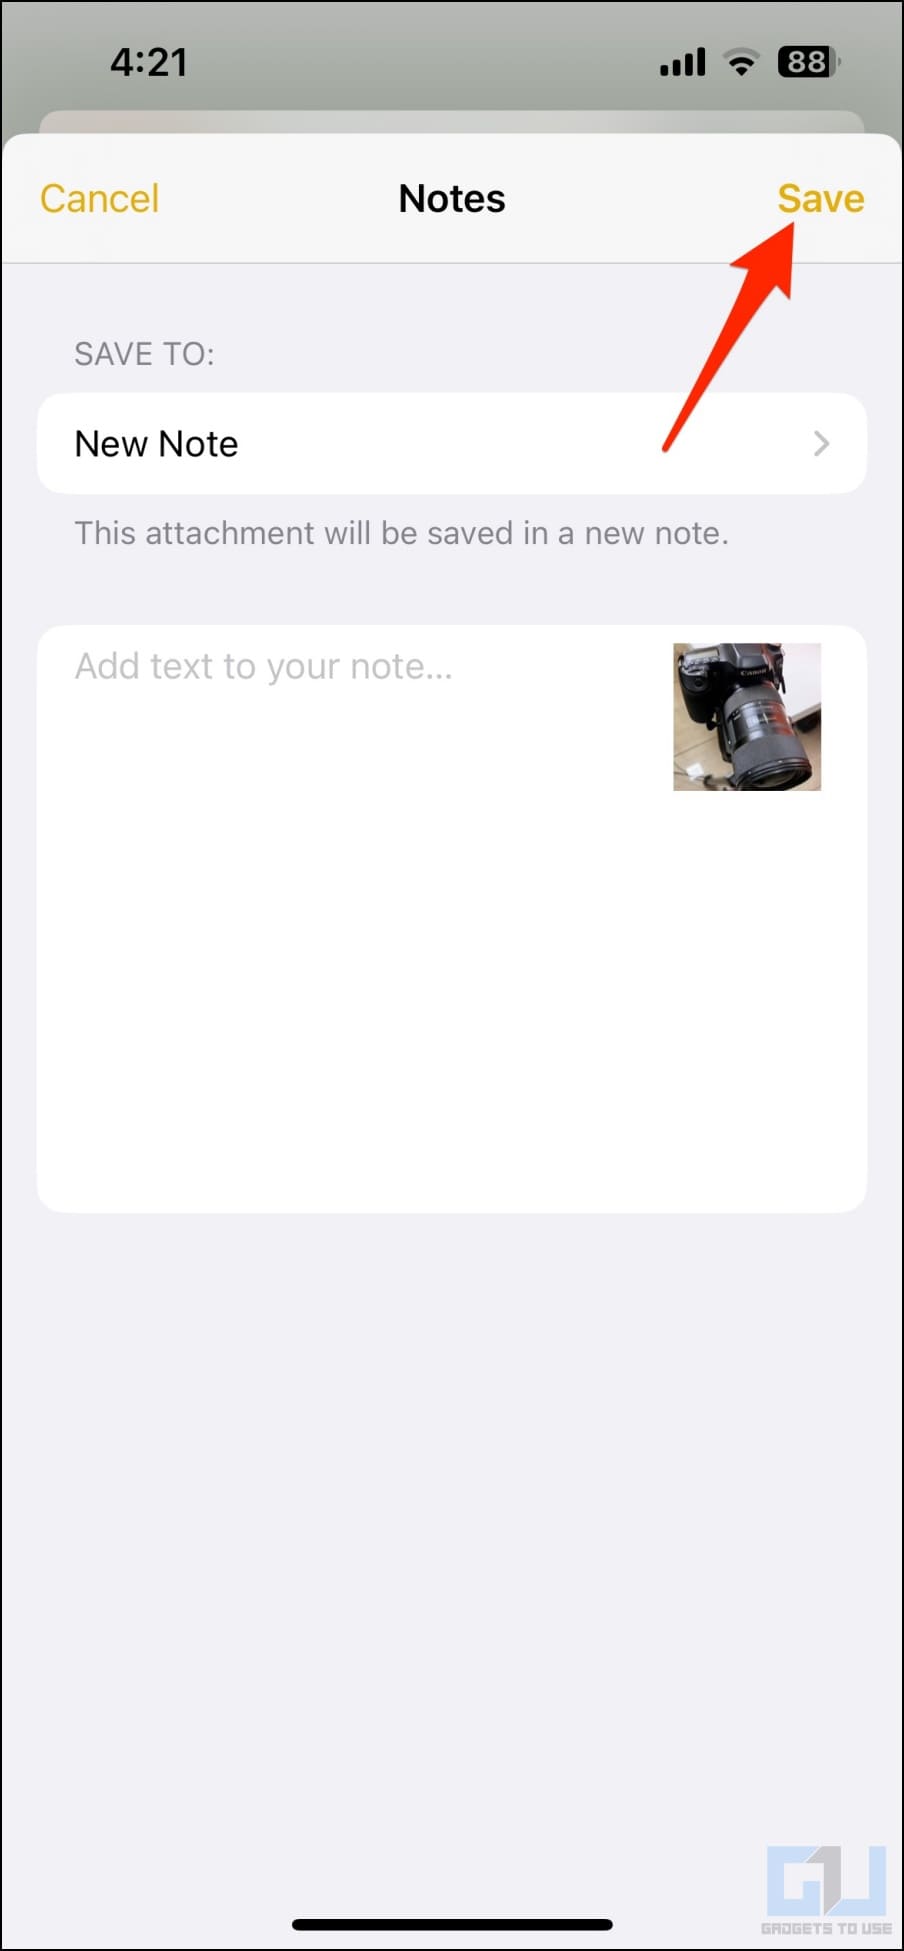
4. Click Save in the top right corner.
5. Now, open the Notes app and head to the note with the saved photo.
6. Tap the photo, and click the Share icon at the bottom left.
7. Hit Save Image.
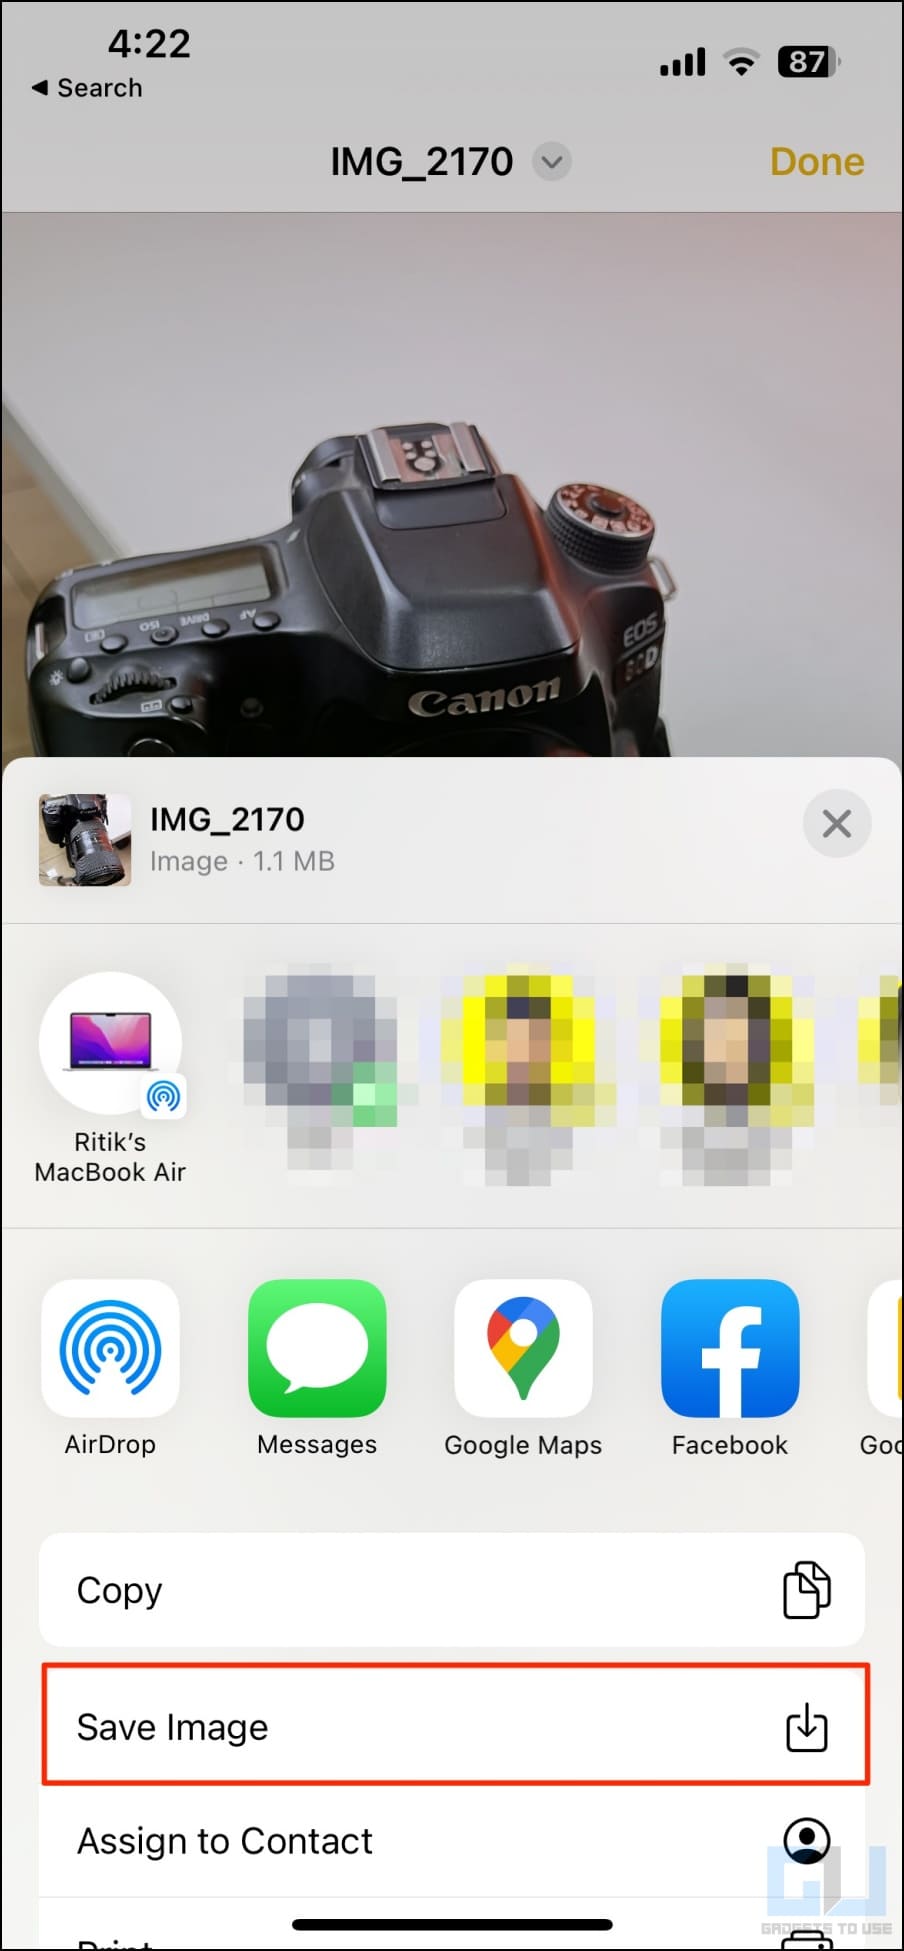
Your live photo will now be saved as a still image in Photos.
Method 4- Share Live Photo as Still Using Google Photos
When you share a live photo and save it to files via Google Photos, it is saved as a regular JPEG image. You can then save it back to the Photos app as a still image. Follow the steps given below:
1. Open Google Photos on your iPhone.
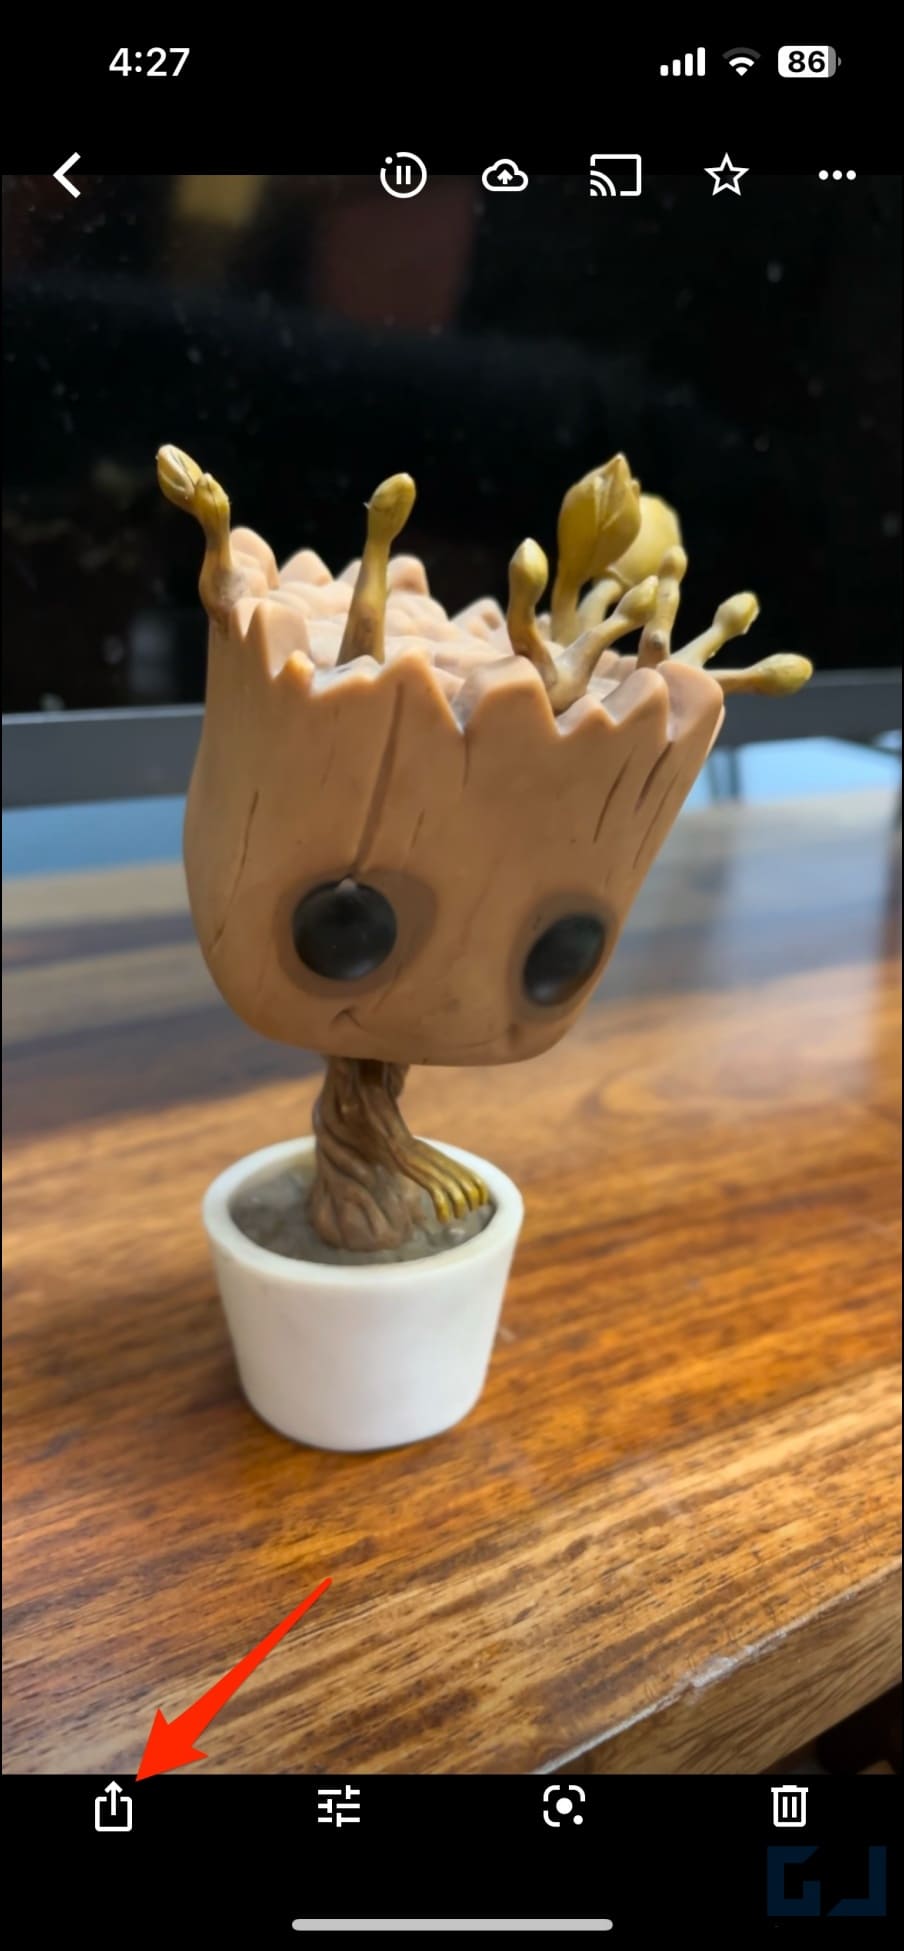
2. Head to the live photo you have already taken and tap the Share icon.
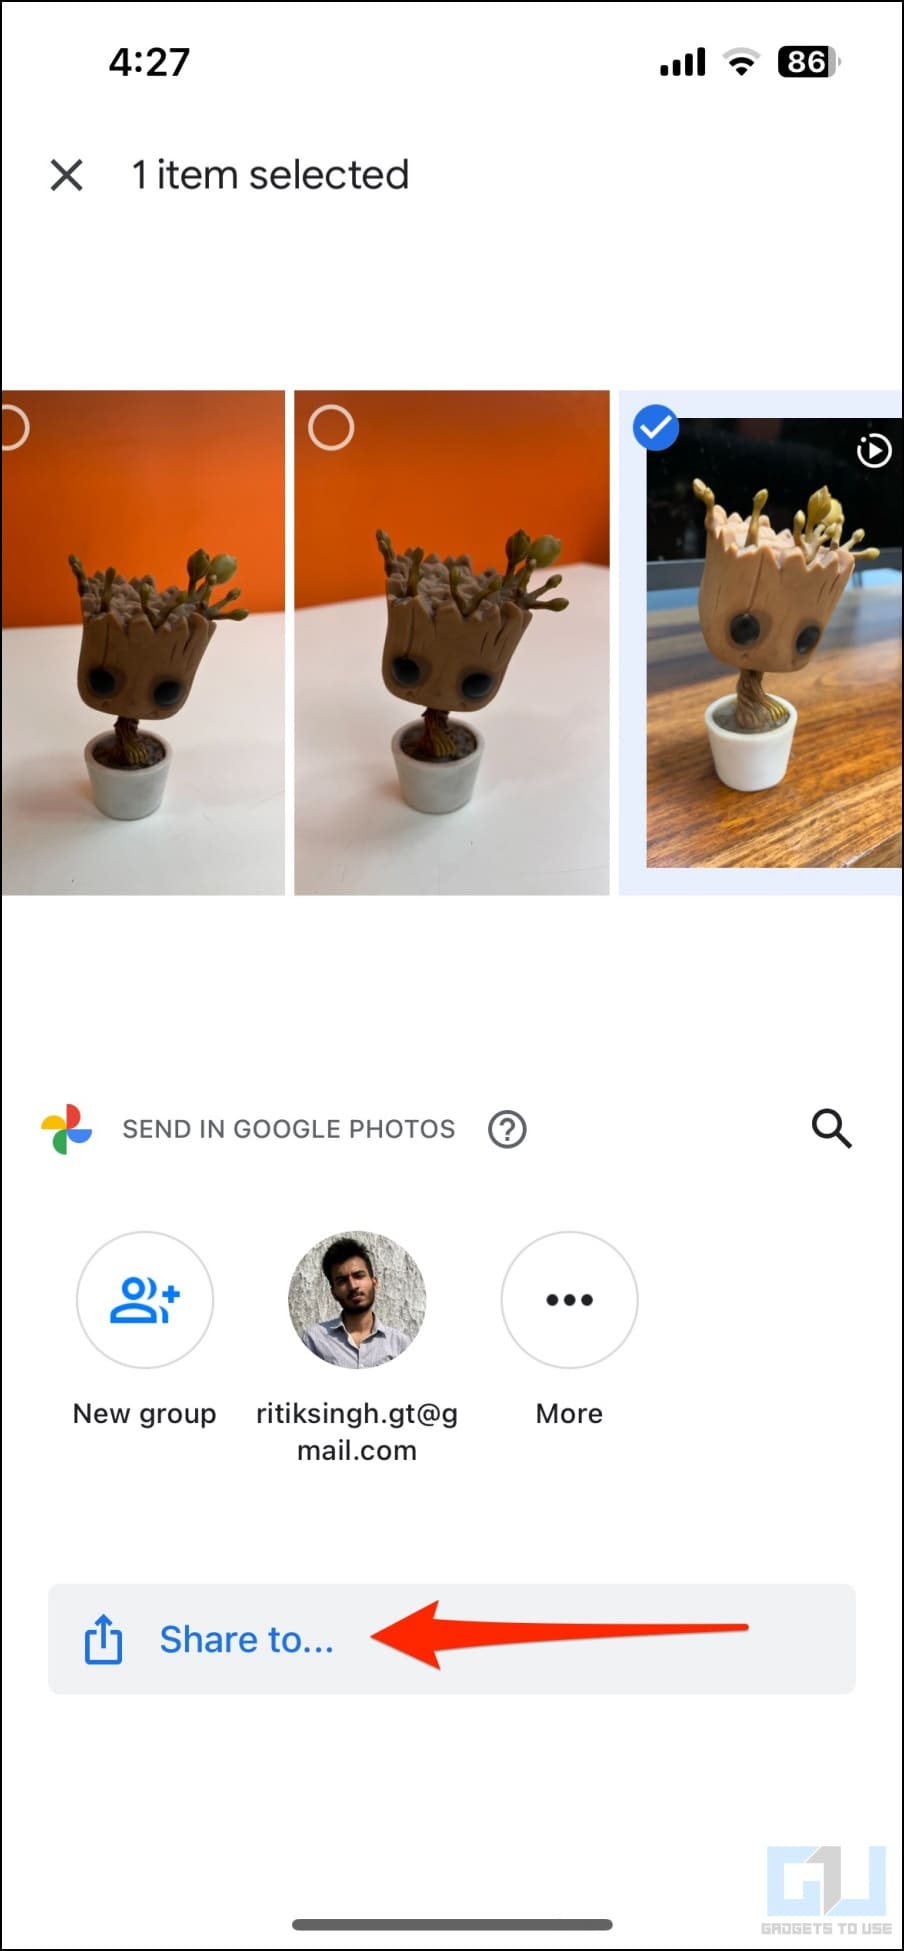
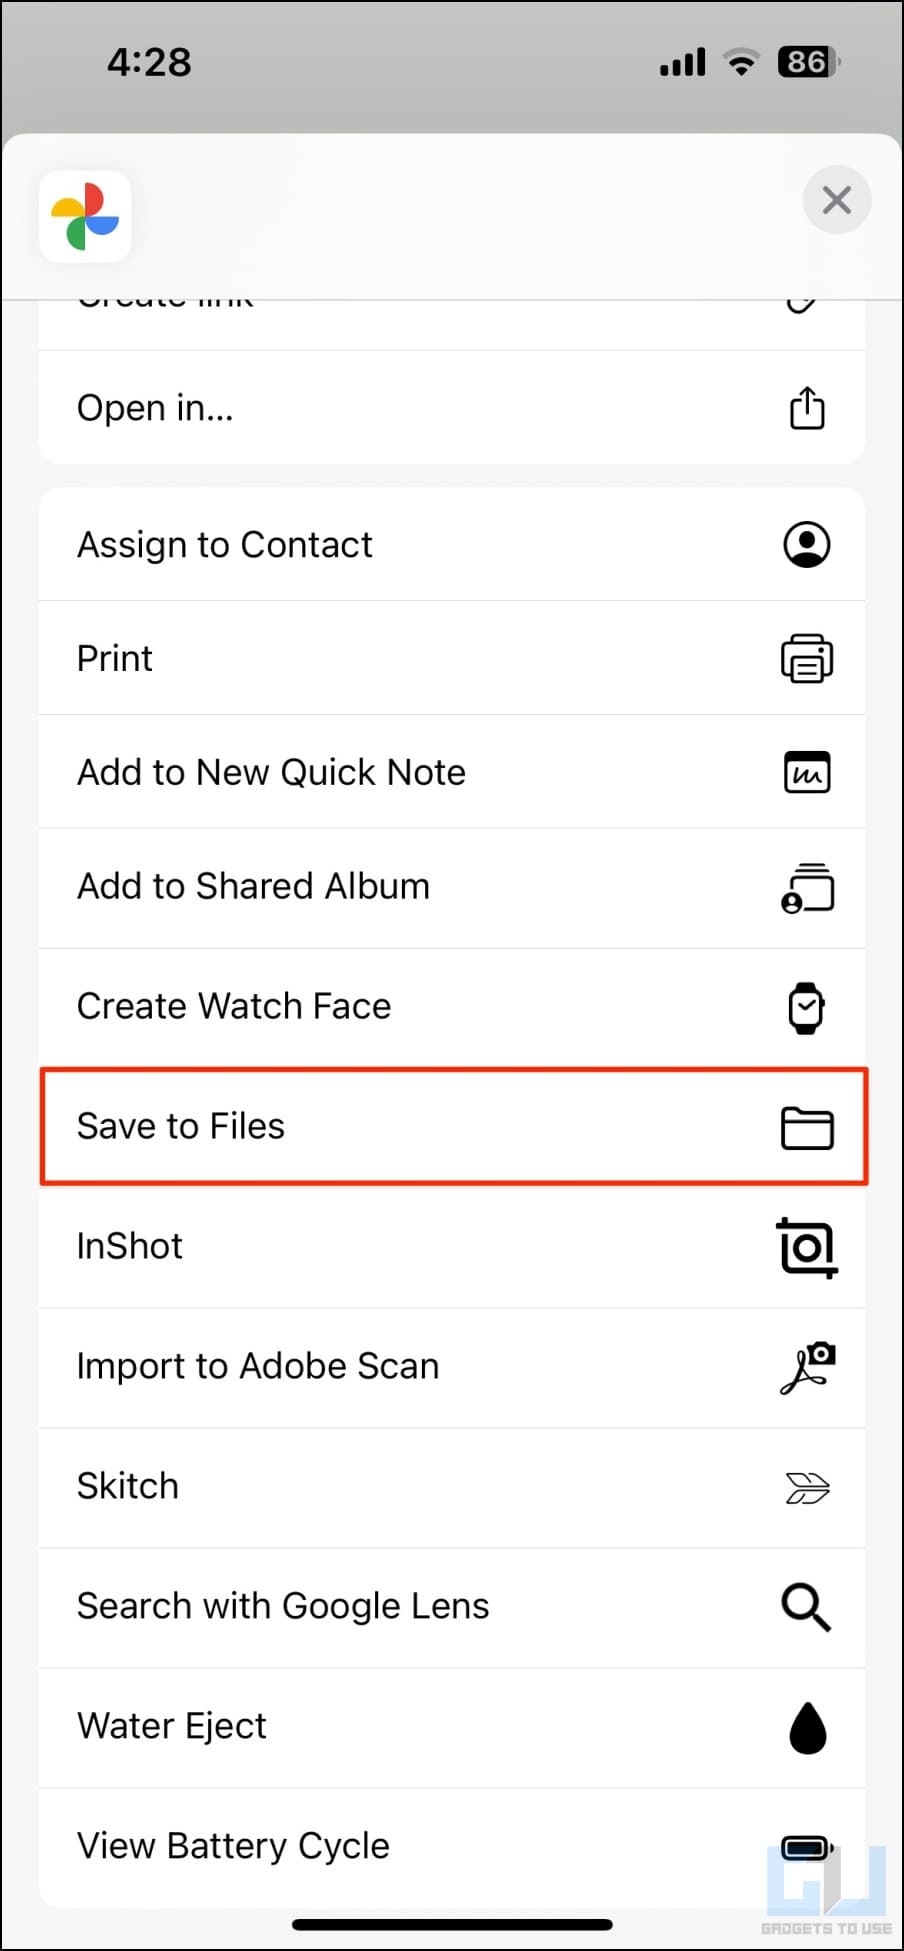
3. From the available options, click on Share to > Save to Files. Select a destination and save the image.
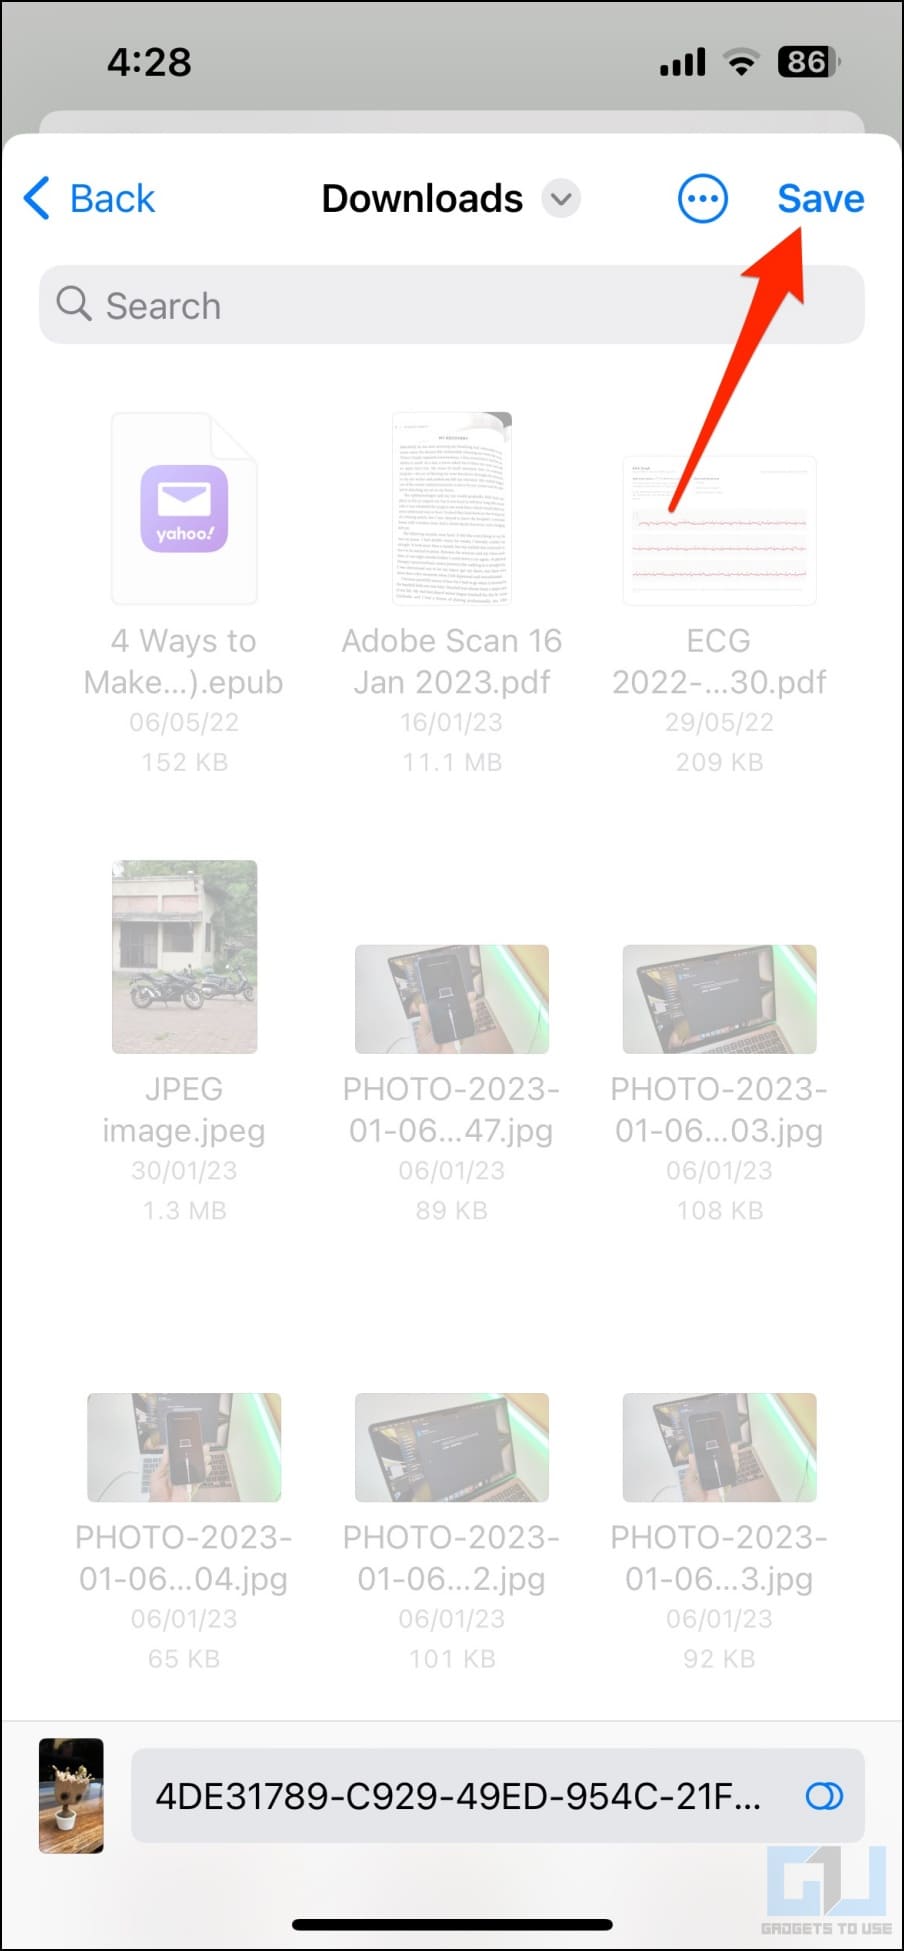
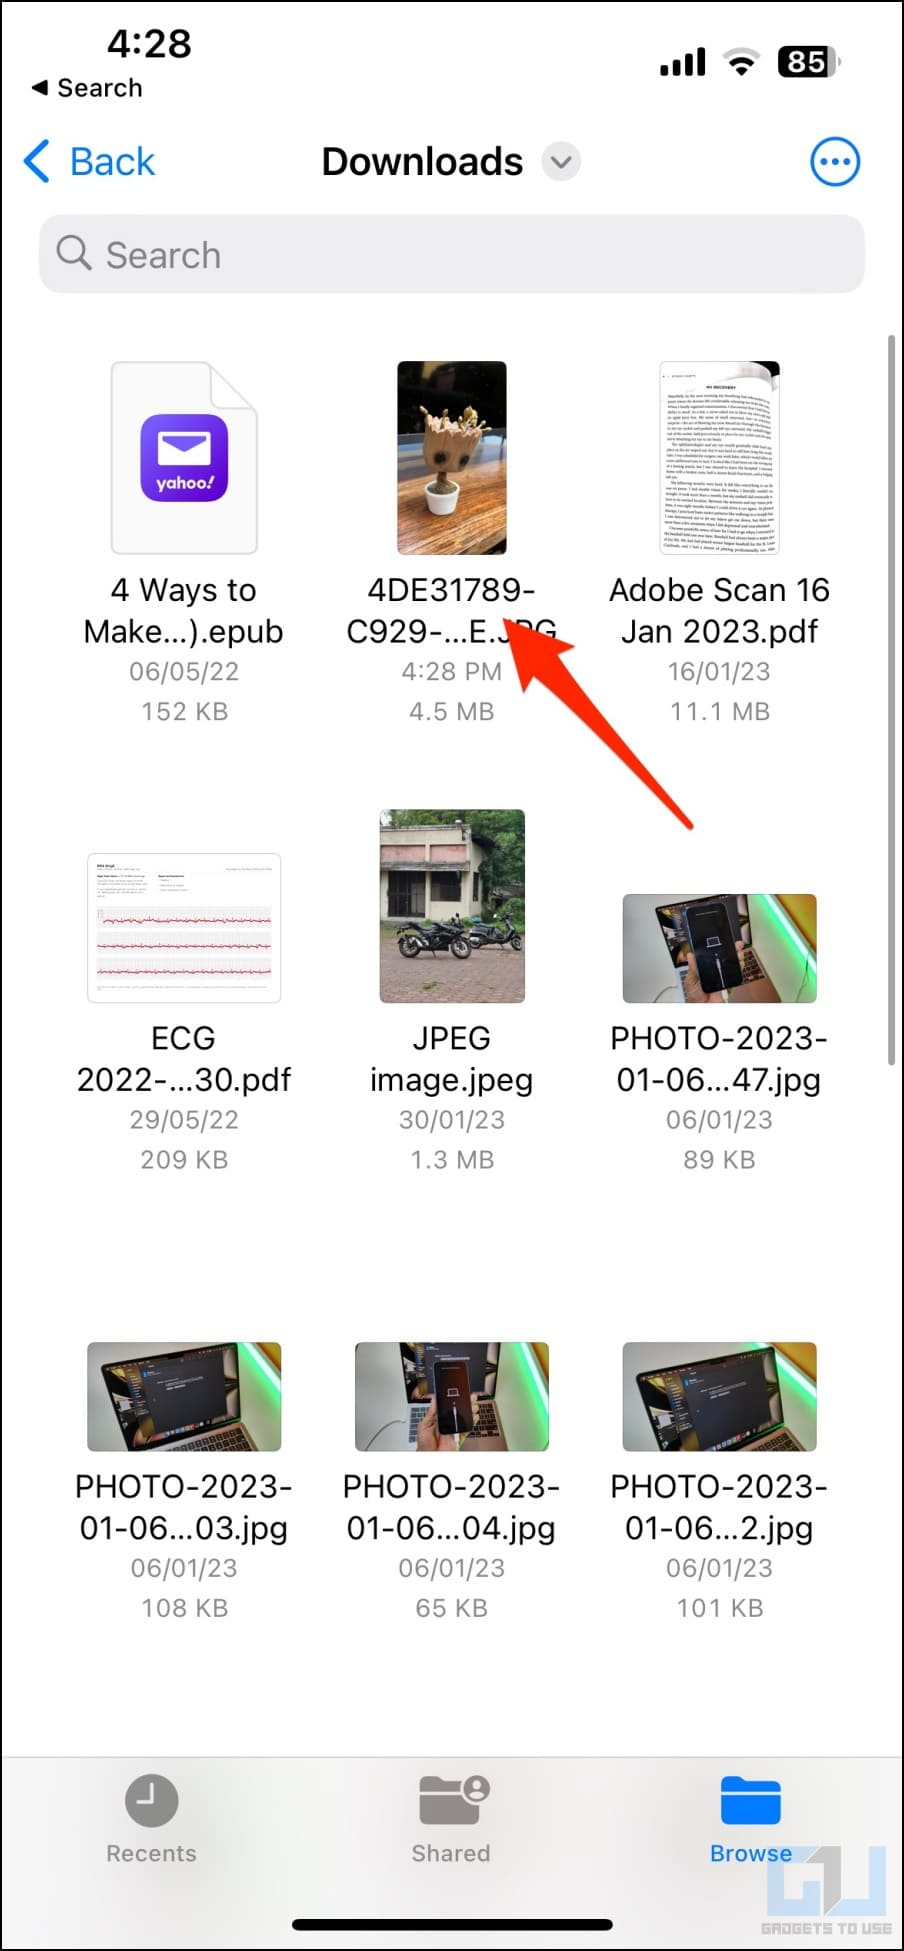
4. Now, launch Files, and open the saved image.
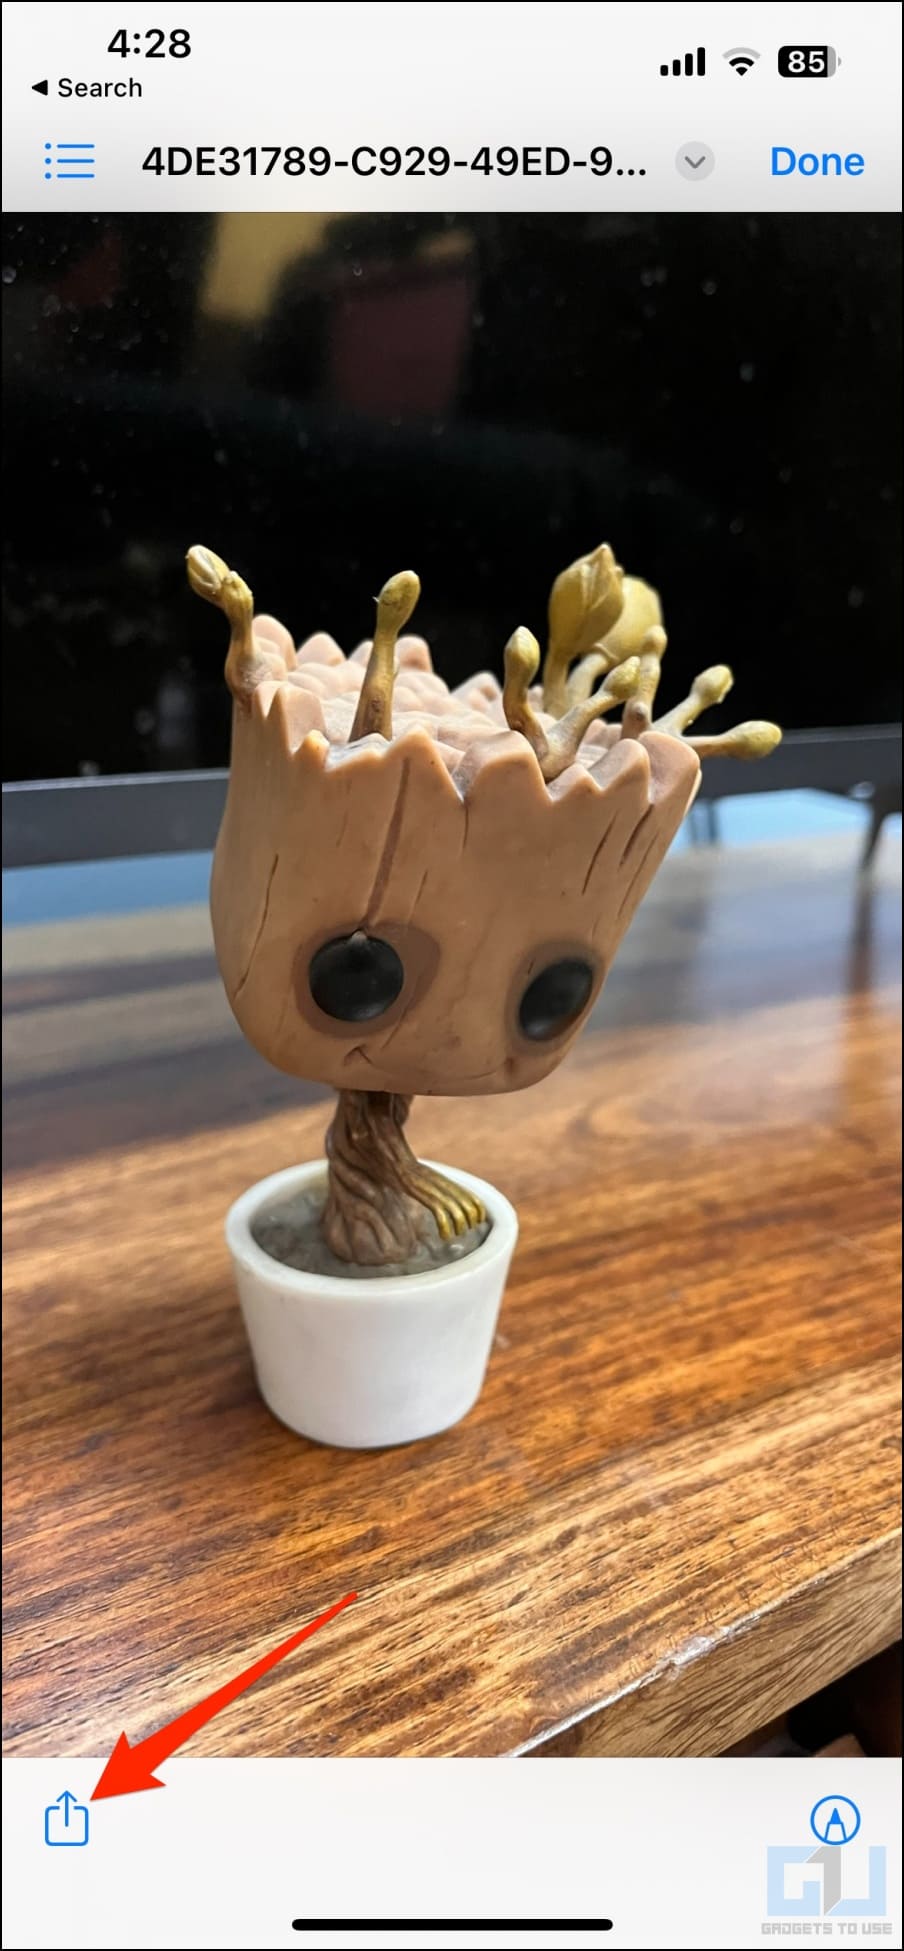
5. Click the Share button.
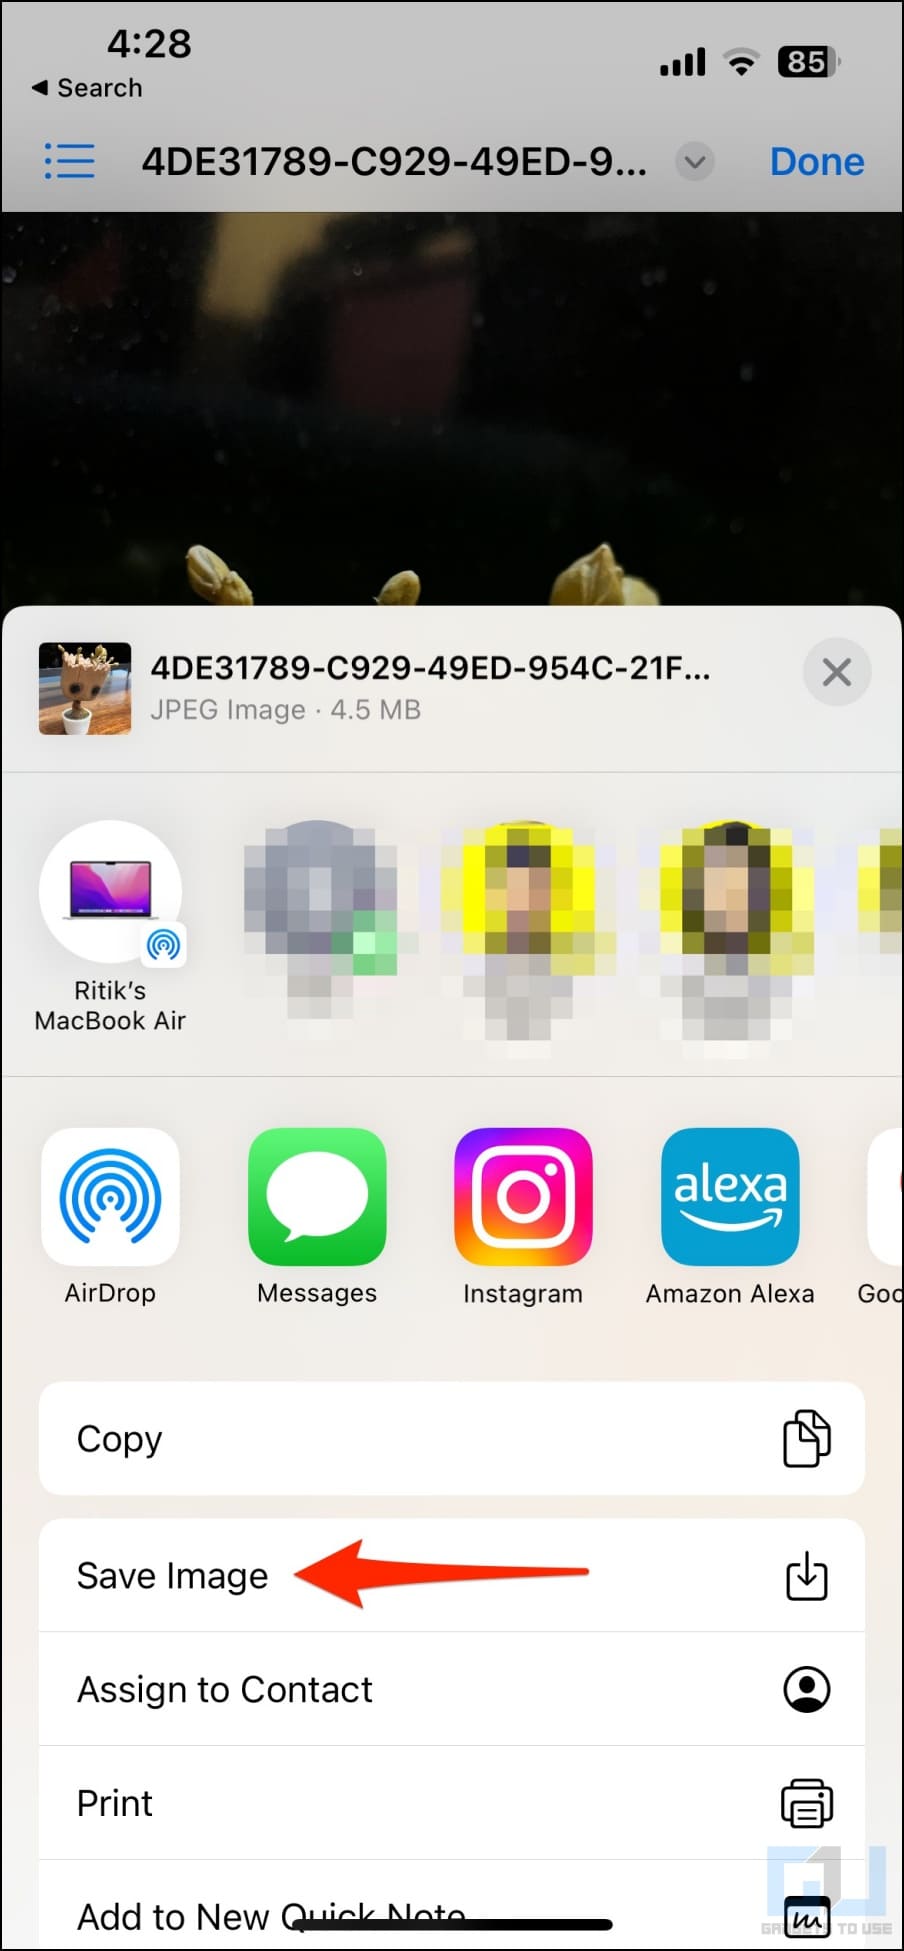
6. Select Save Image to save it as a still in your gallery.
Method 5- Take a Screenshot of the Live Photo
Another quick way to save a live photo as a still is to take a screenshot. To do so, open the image in the Photos app. Tap once anywhere on the photo to view it in full screen. Then, press the Volume up + Power button on your iPhone to capture a screenshot.
However, note that the screenshot won’t be of as high quality as the original image.
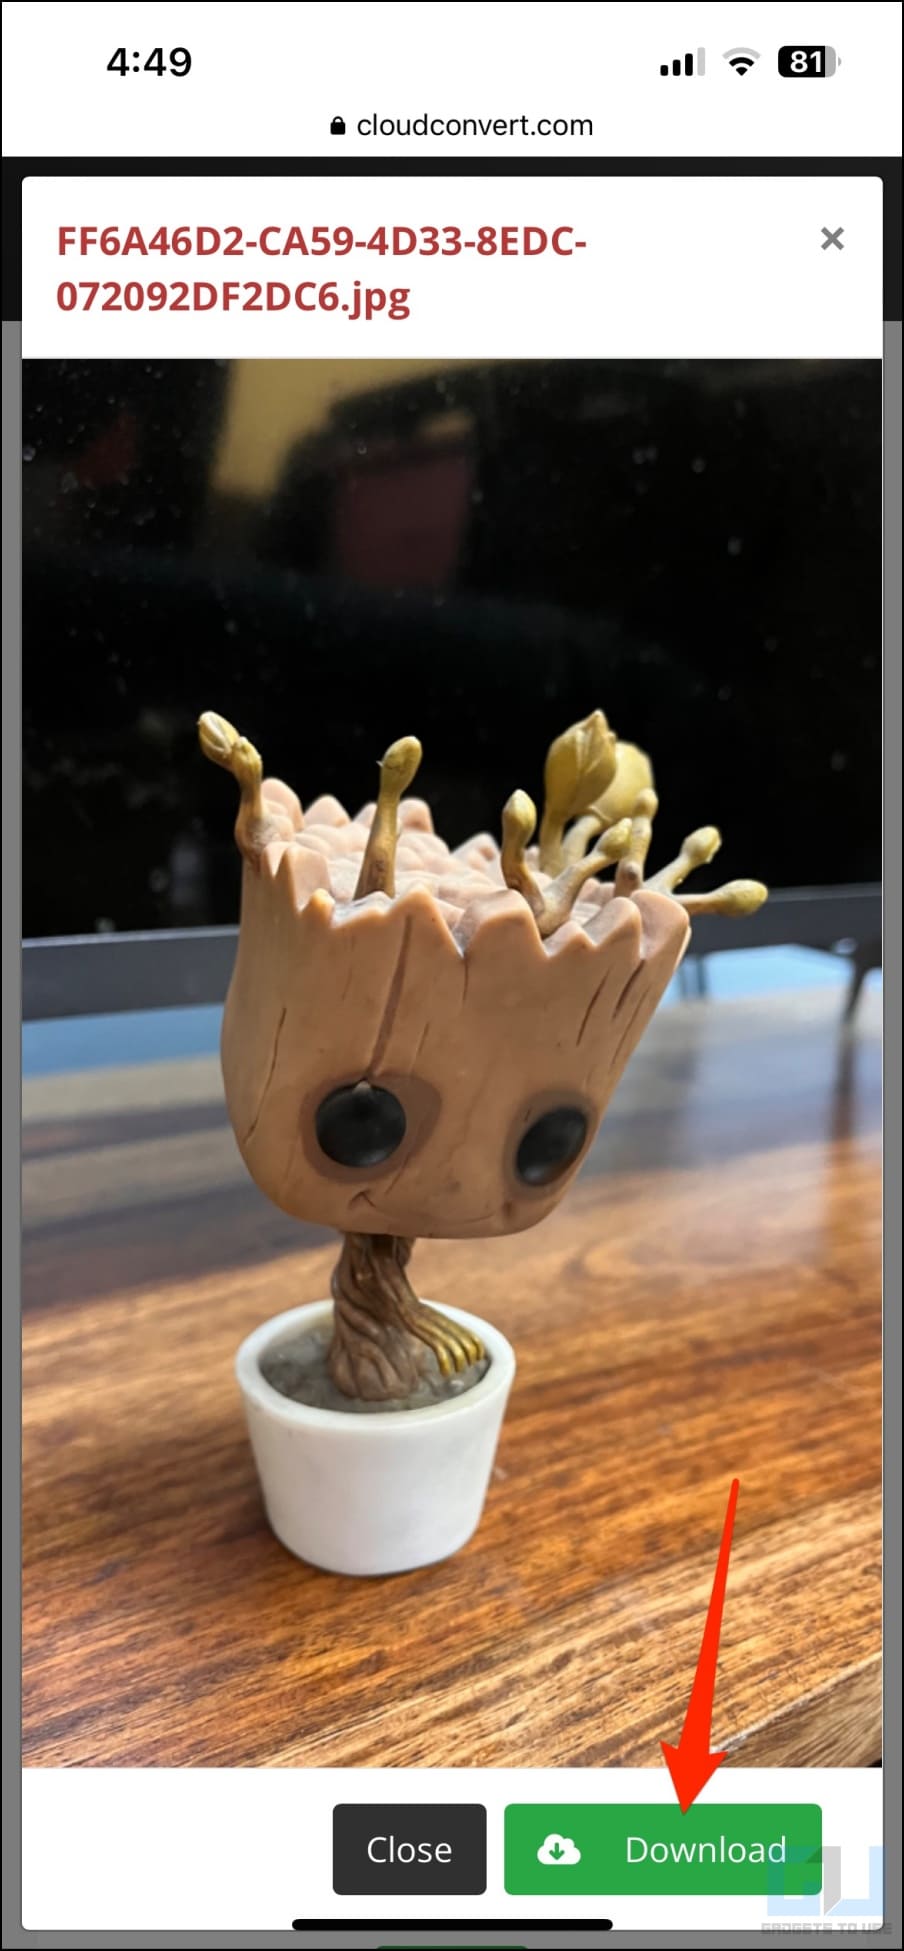
Method 6- Convert Live Photos to Still in Bulk Using Online Converter
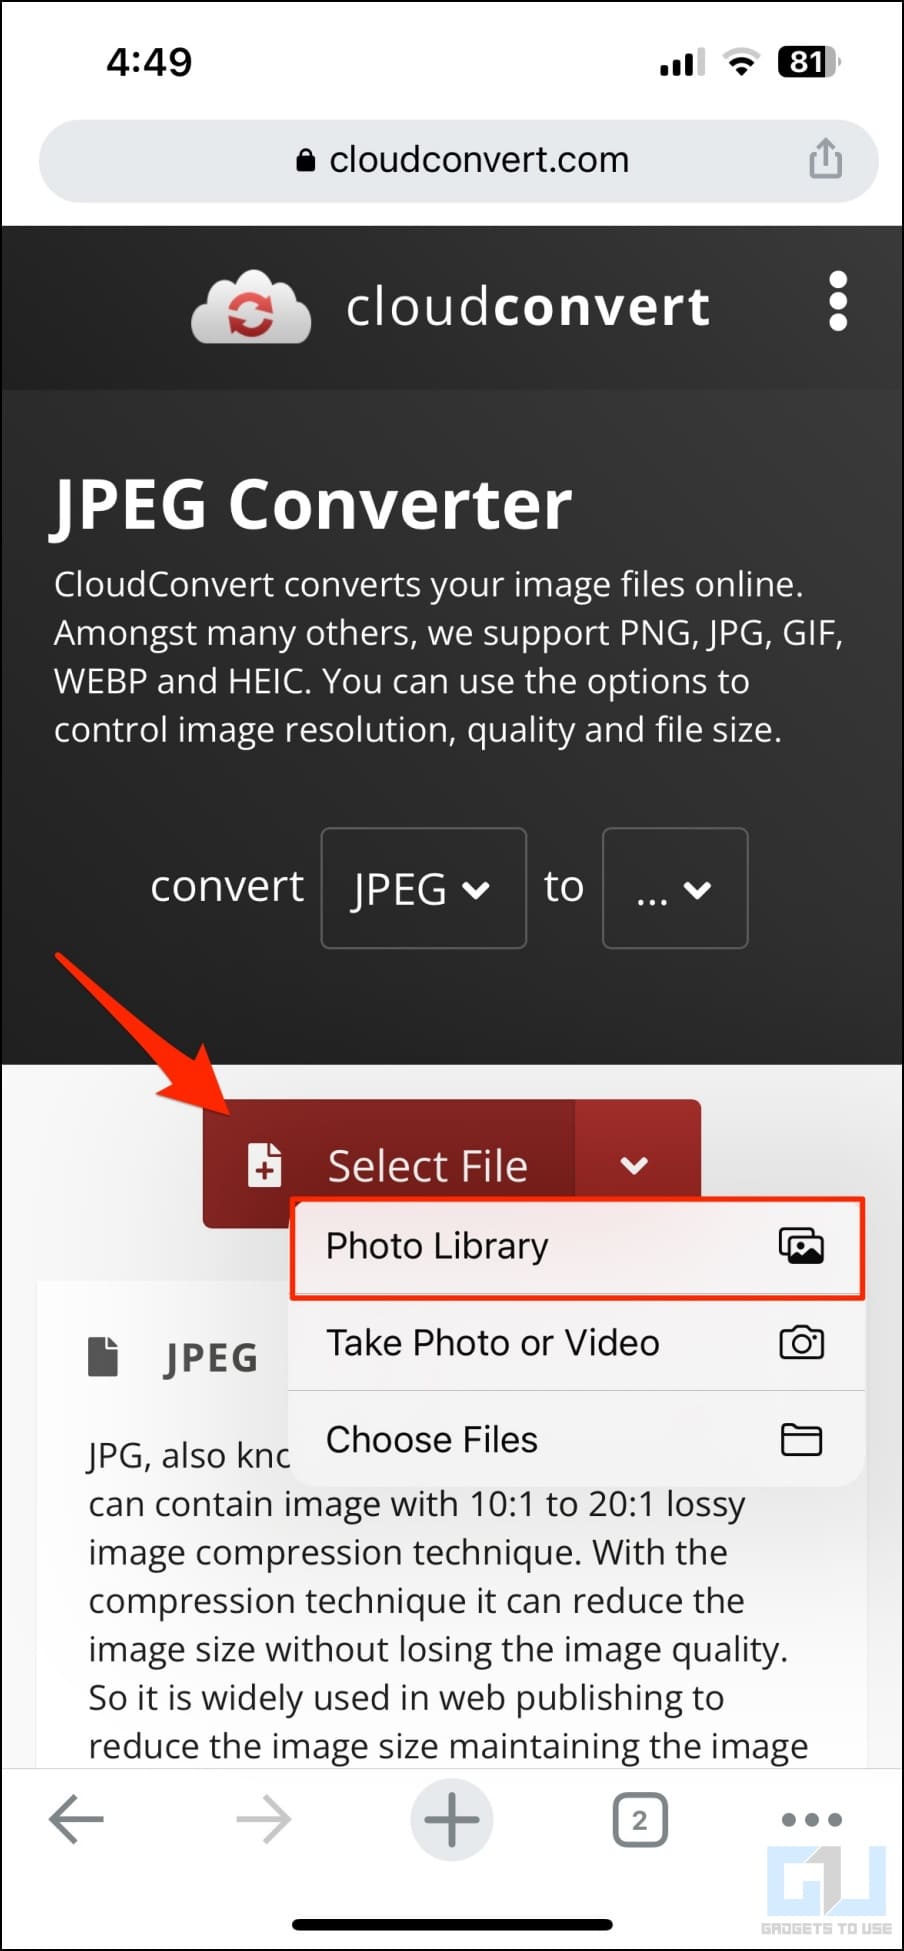
1. Open Safari or Chrome and visit cloudconvert.com/image-converter.
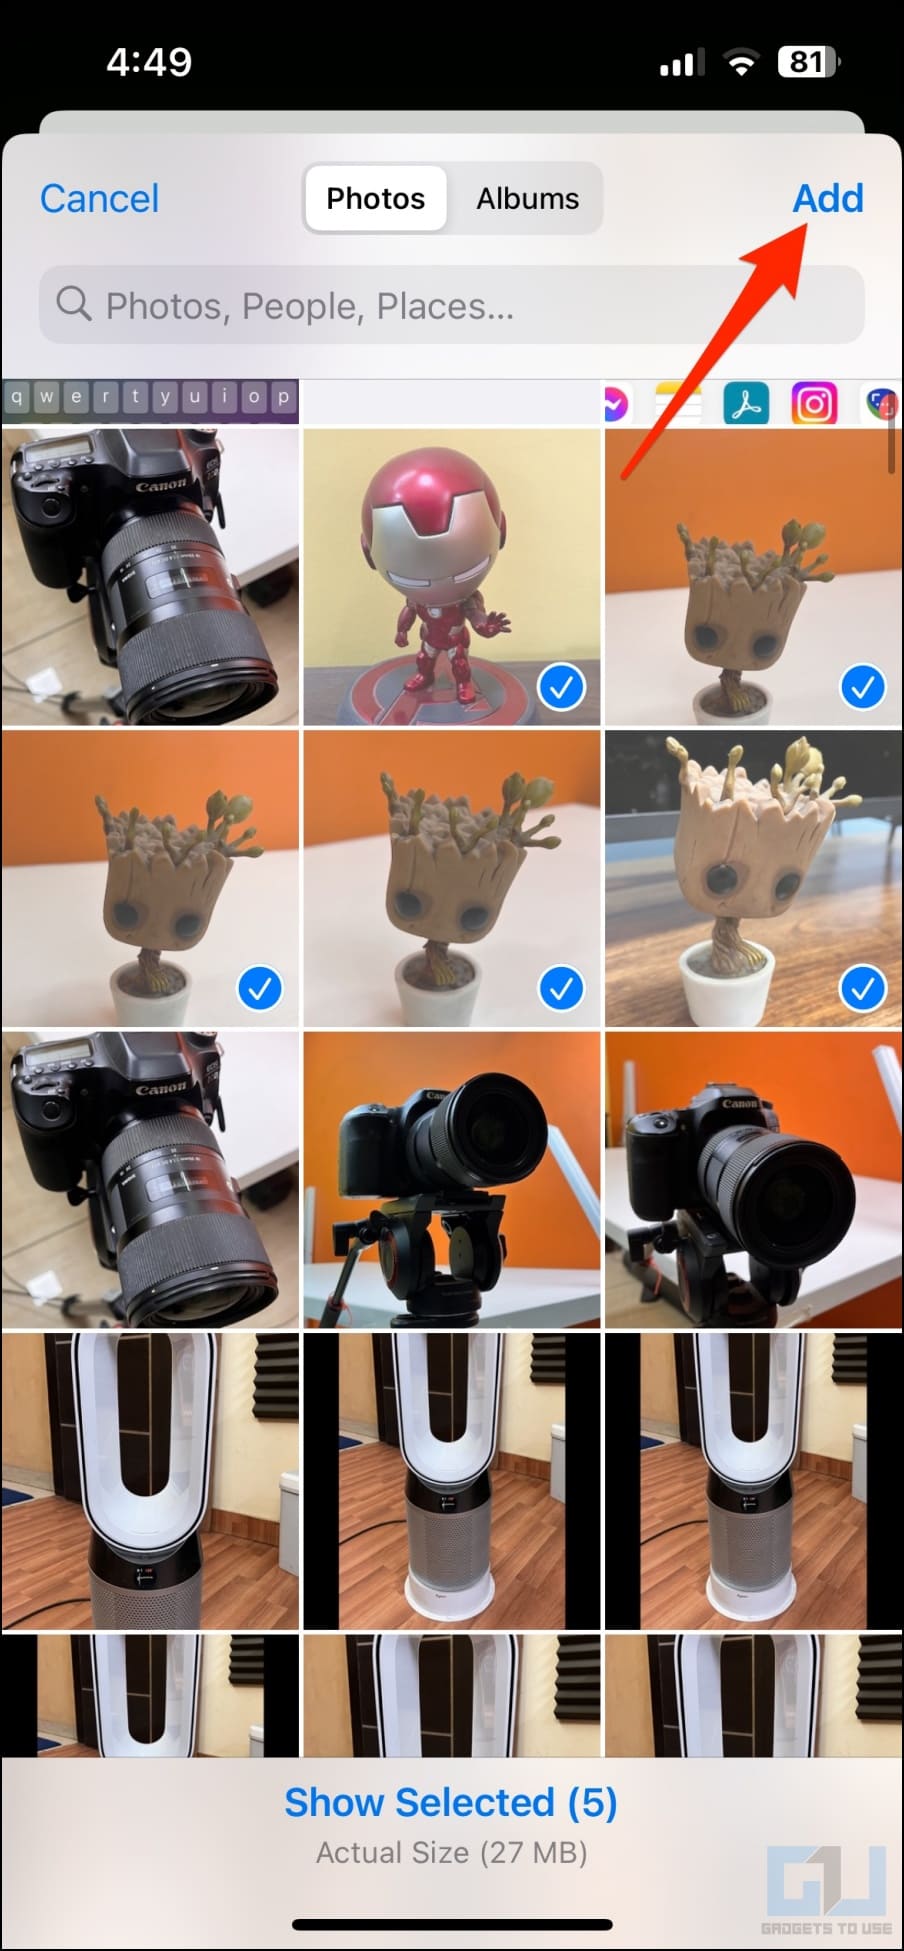
2. Click Select Images > Photo Library and choose all the live photos from the gallery.
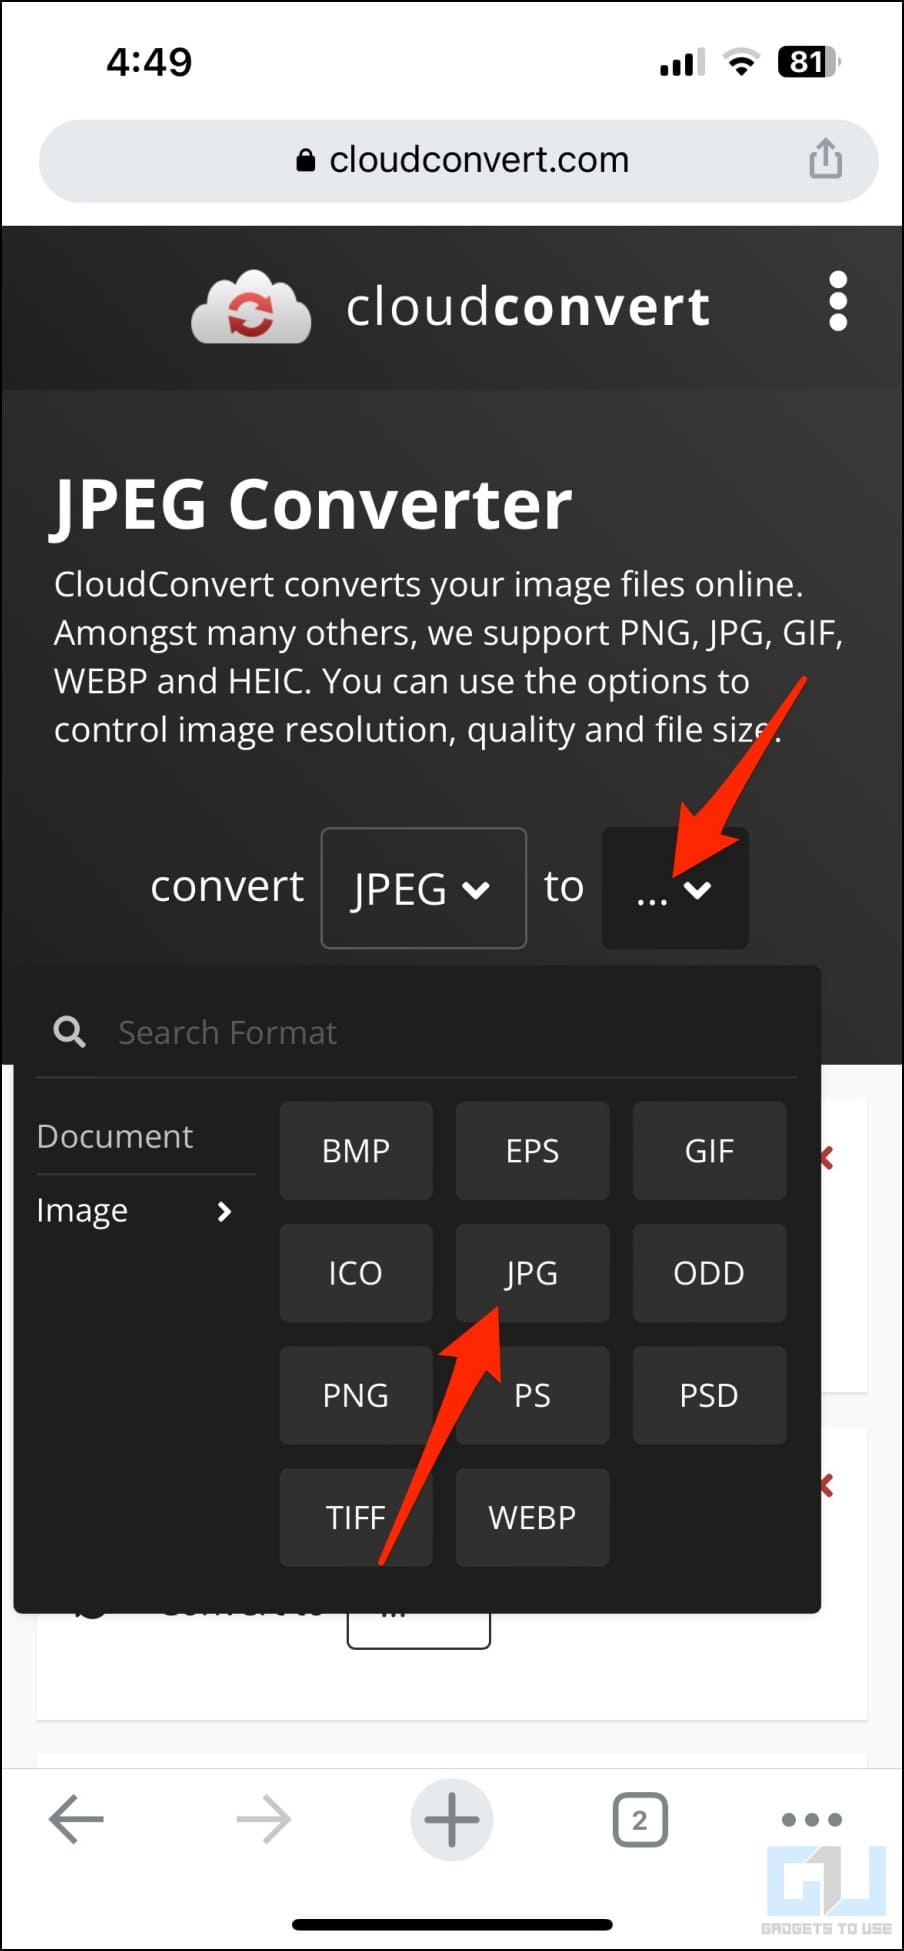
3. Once added, select JPG in the convert to the field. Scroll down and tap Convert.
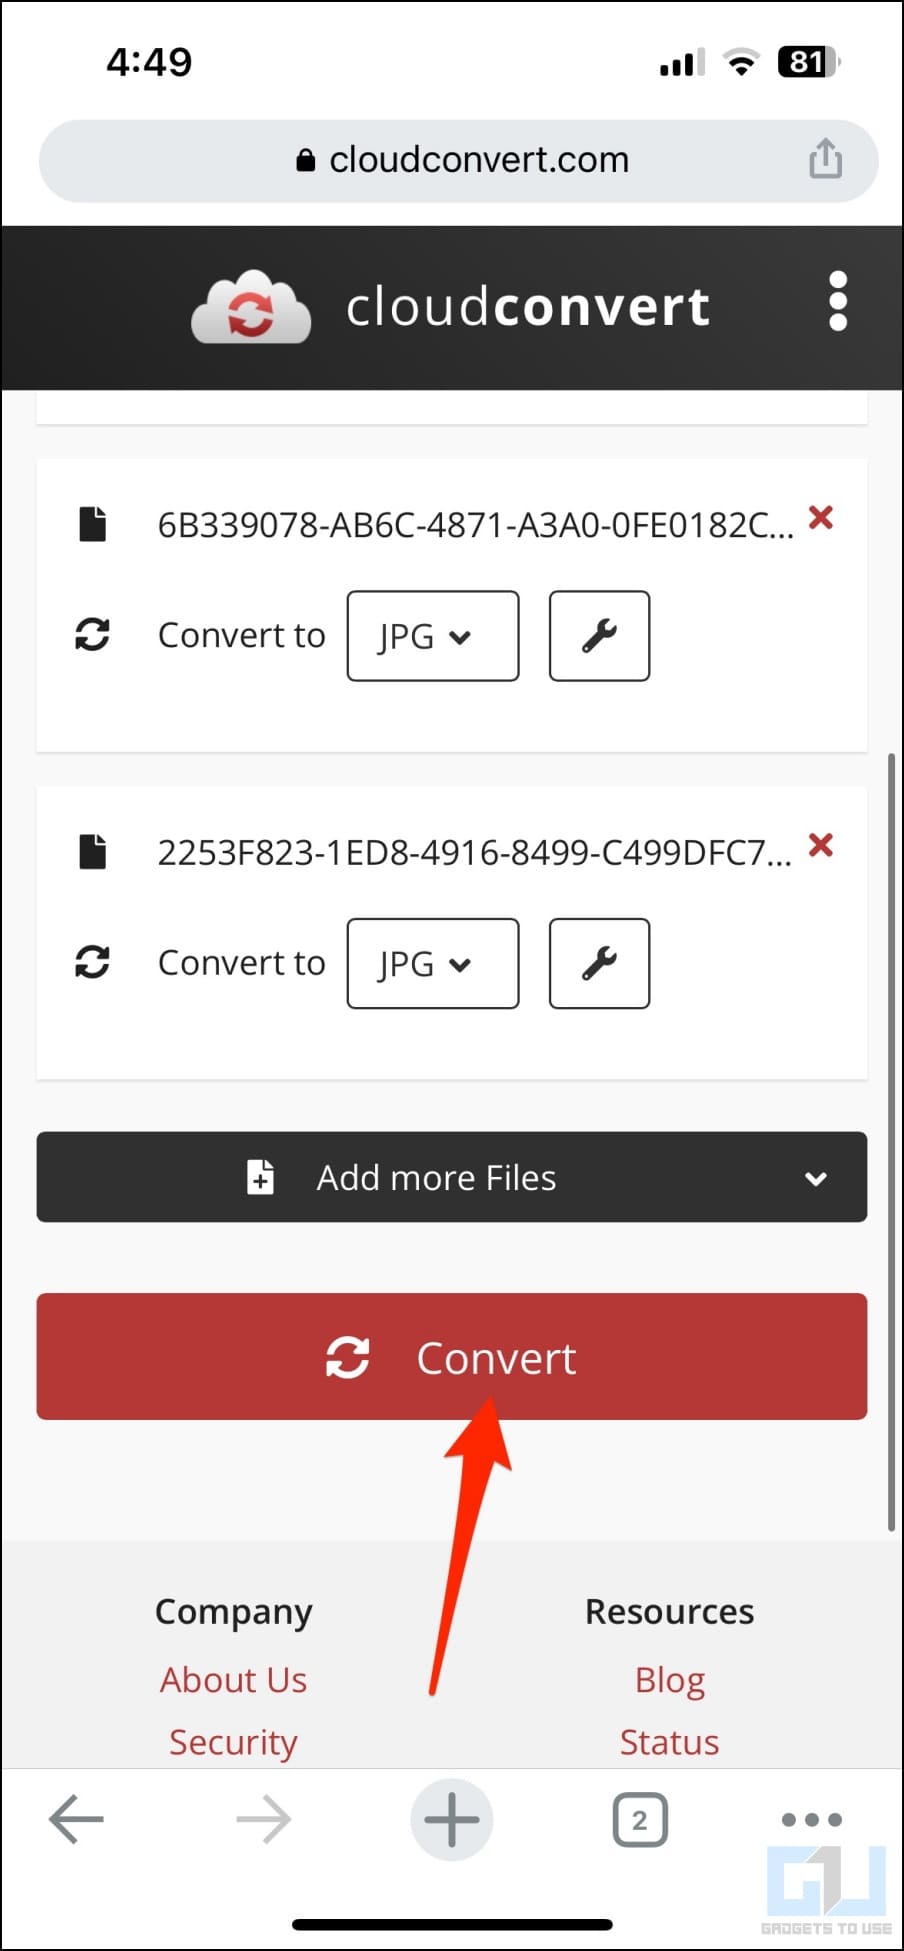
4. Wait for the process to complete and tap Download.
How to Save a Live Photo as Video On Your iPhone?
If you want to share a Live Photo’s memory as a video on Instagram, Facebook, or be it anywhere, you can easily save it as a video using the steps below:
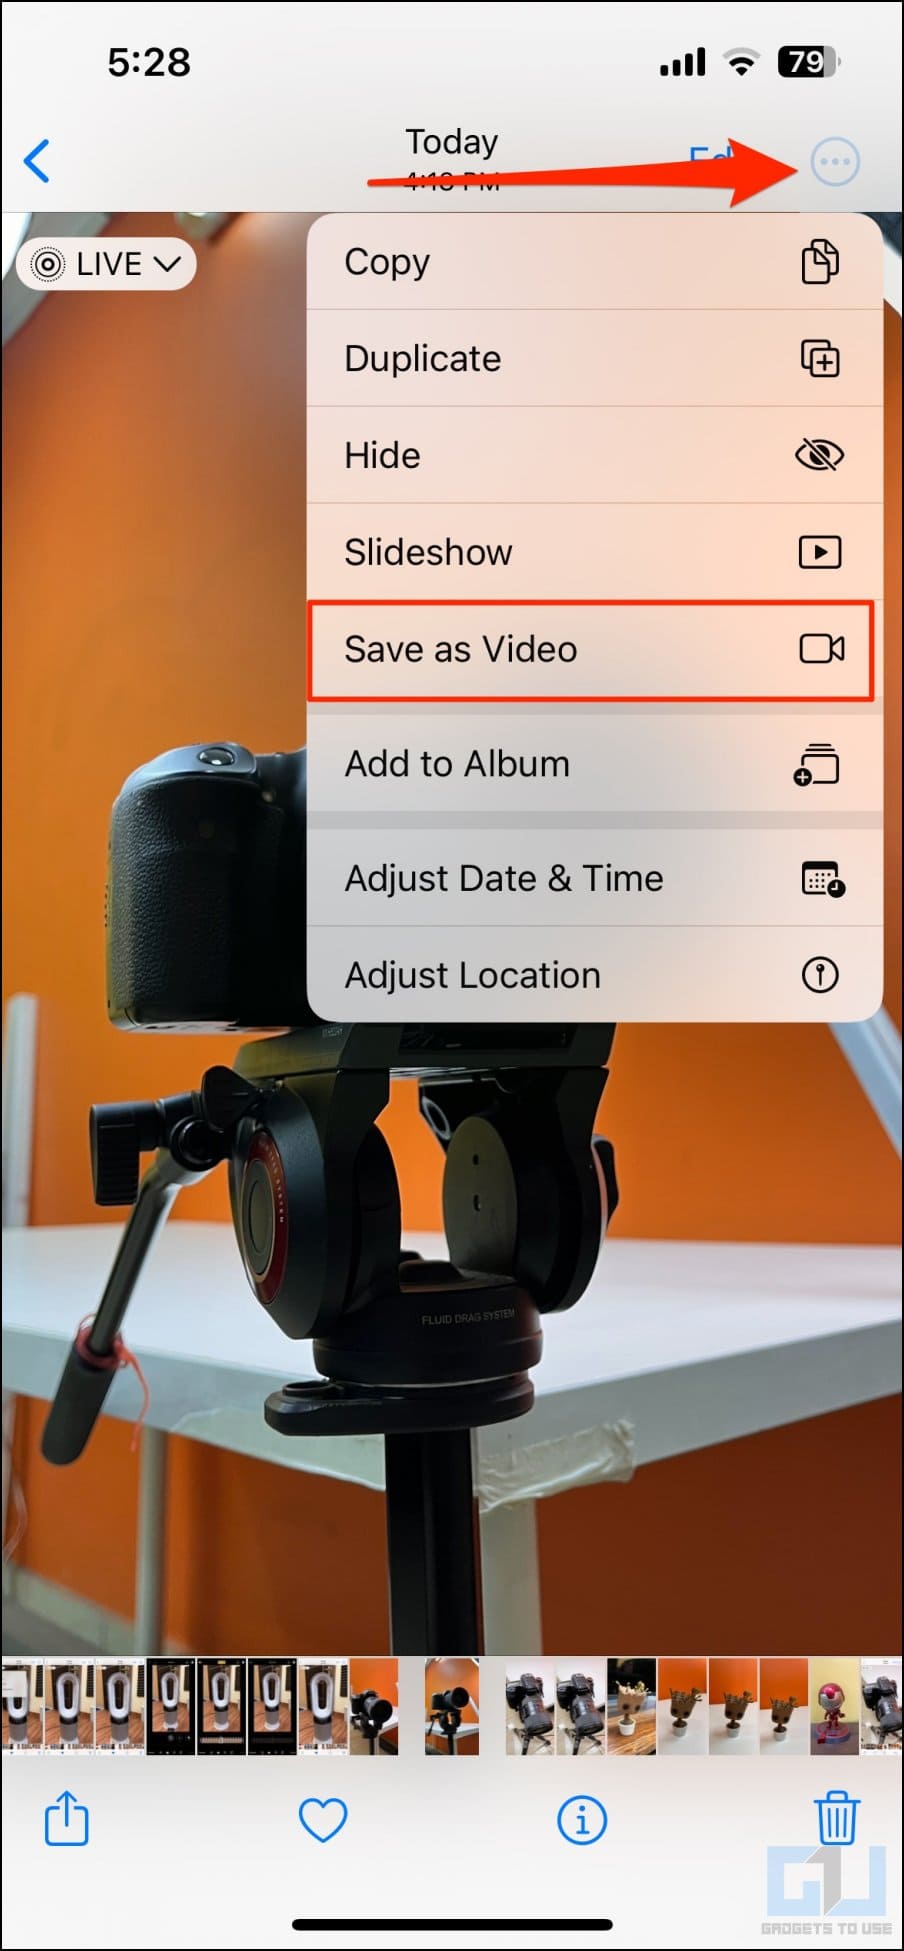
1. Open Photos and head to the live photo you want to save as a video.
2. Click on the Share button at the bottom left.
3. Scroll down and click Save Video to save it as a video.
How to Permanently Turn Off Live Photos on iPhone?
In case you do not want your iPhone or iPad to capture live photos, i.e., record video when clicking pictures, follow the steps below:
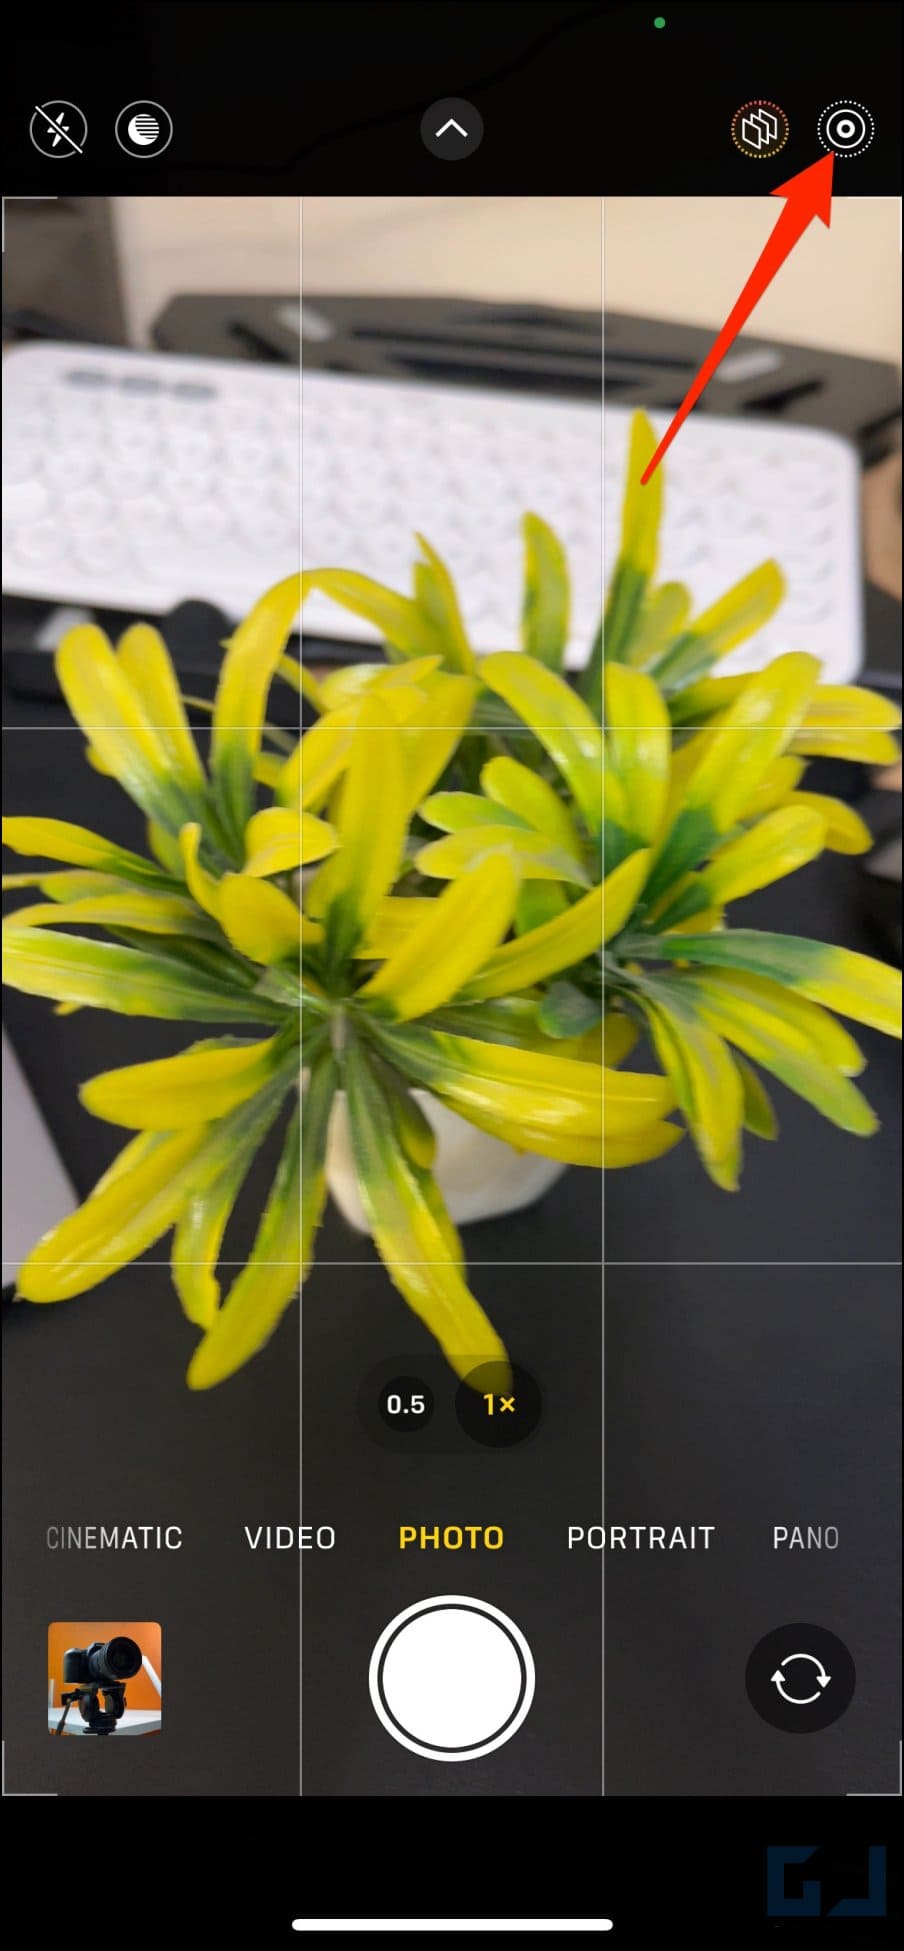
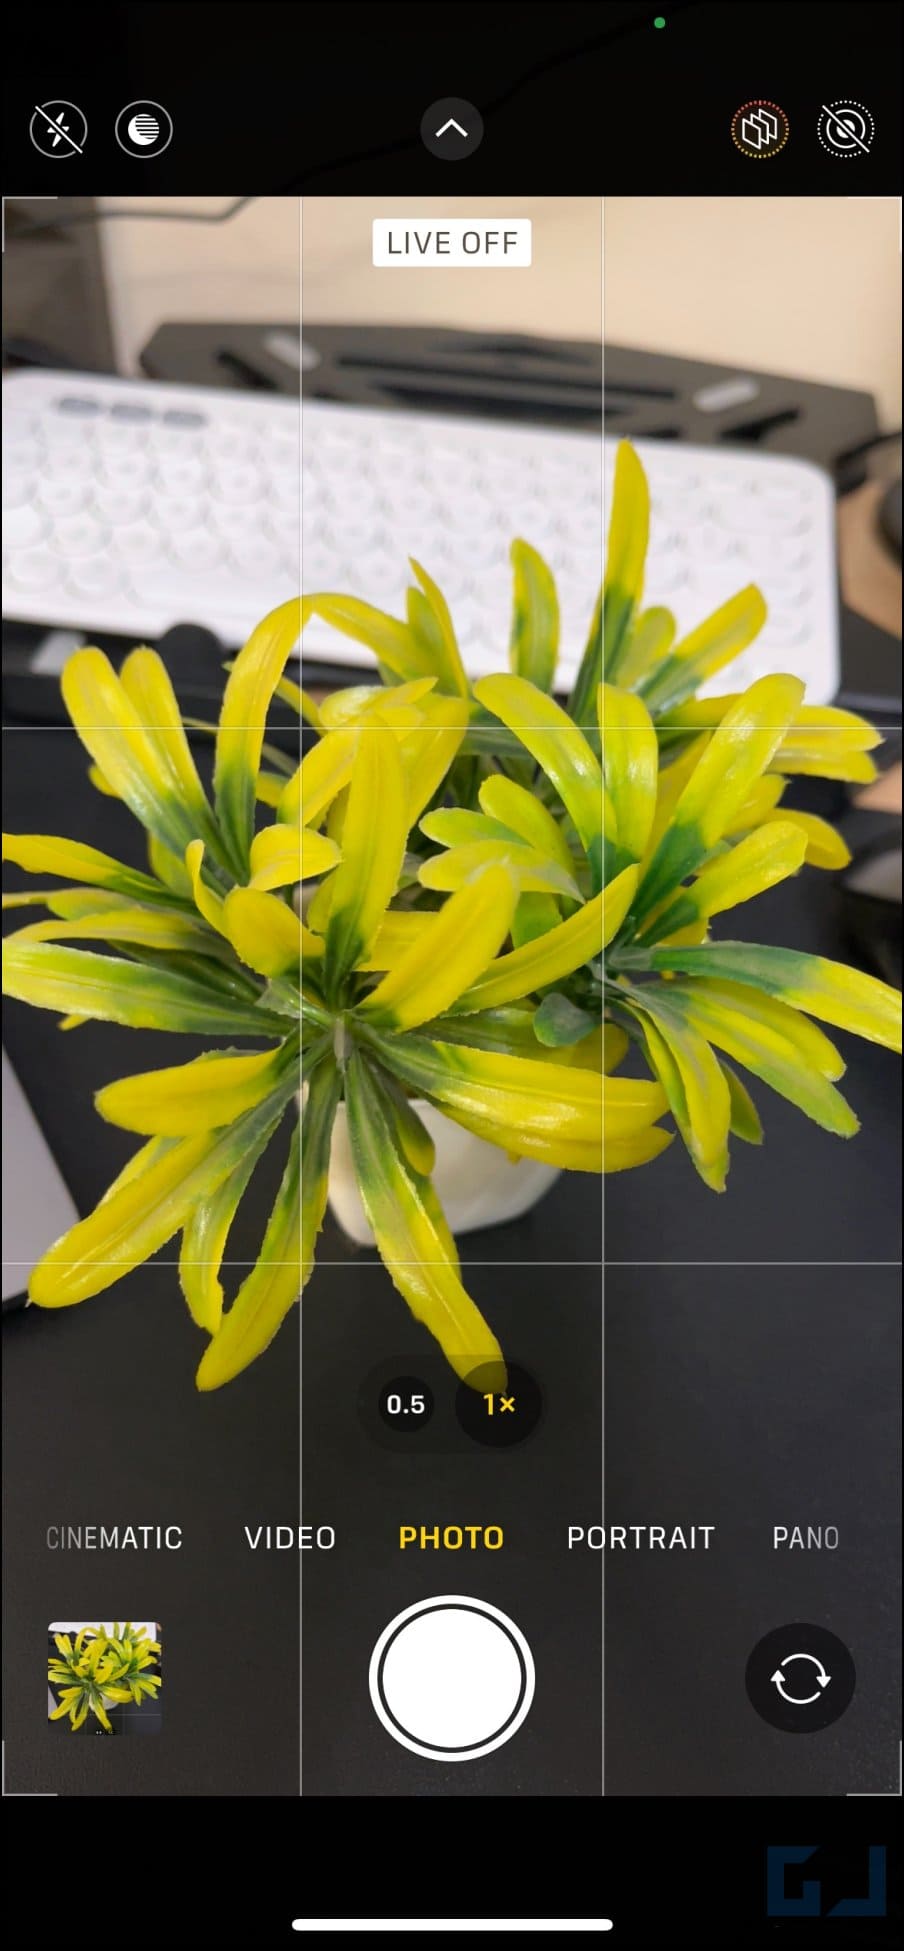
1. Open the Camera on your iPhone.
2. Click the Live Photo icon in the top right corner.
3. A slash through the Live Photos icon means the feature is disabled.
By default, Live Photos will be enabled automatically. To ensure that it stays off permanently, go to Settings > Camera > Preserve Settings and turn on the toggle for Live Photo.
Frequently Asked Questions
Q. Do Live Photos Suffer from Quality Loss?
So while there’s no quality loss in the original keyframe photo, the other frames may not look as good.
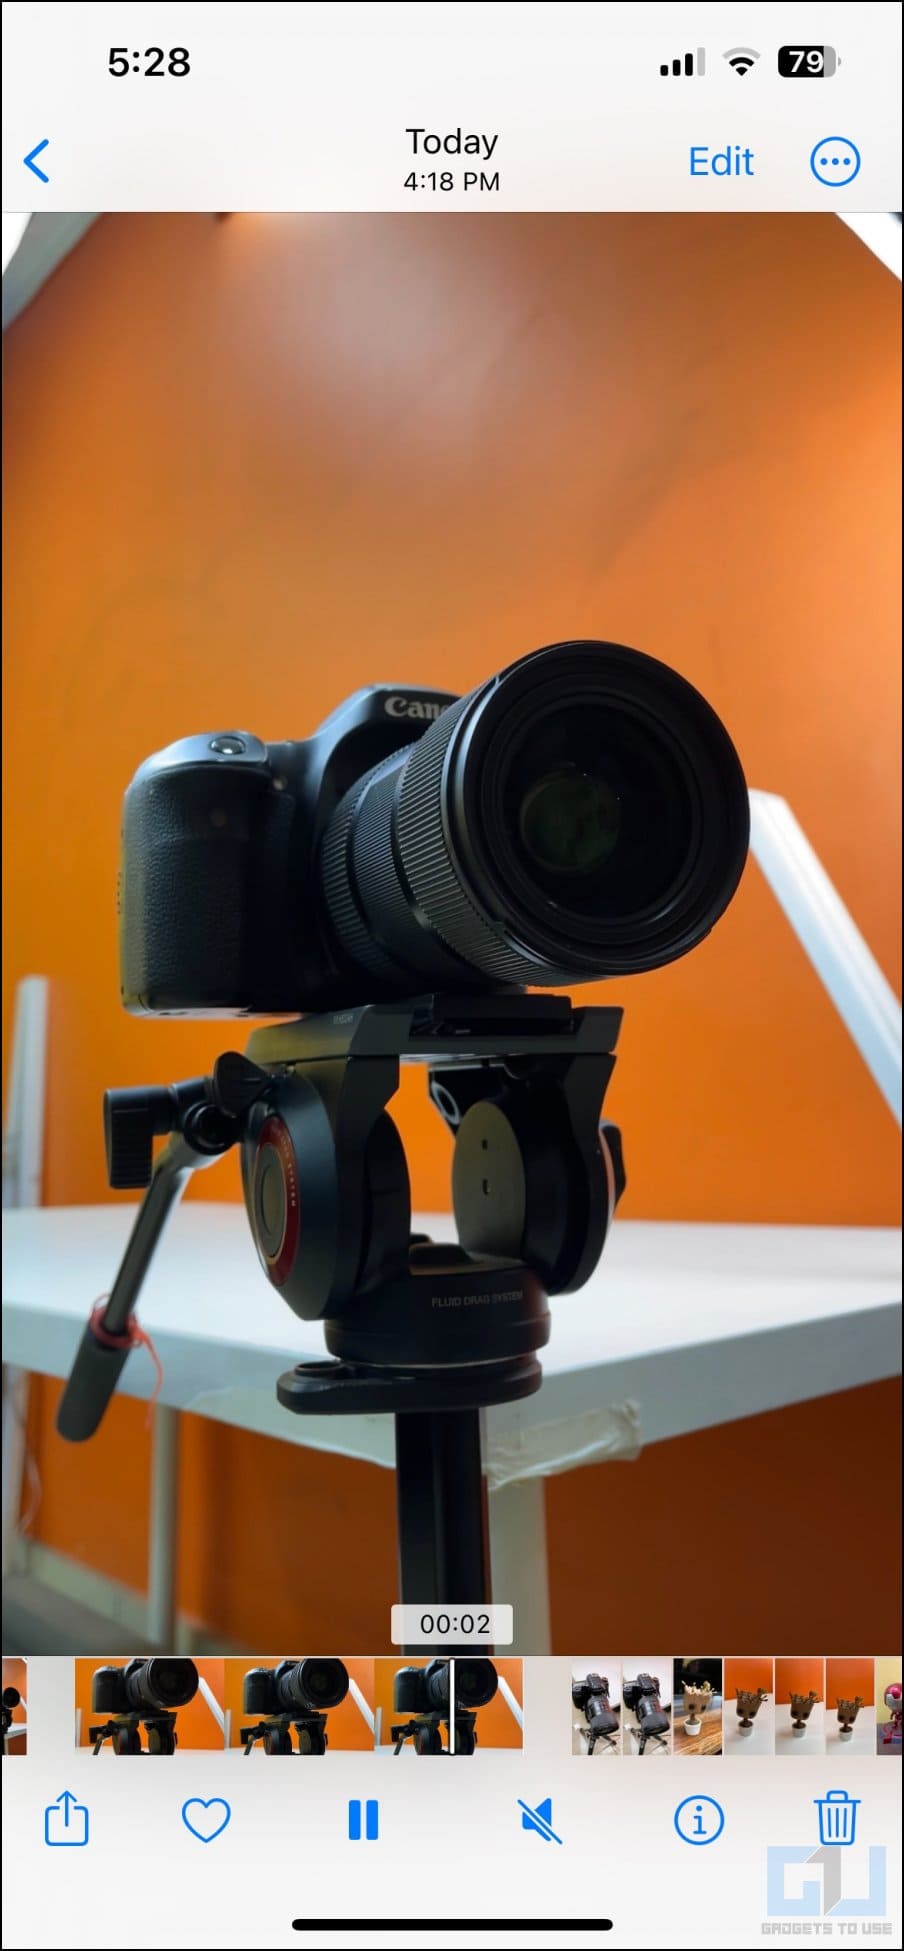
Q. How to Know if an Image is a Live Photo?
If it’s a live photo, you’ll see the LIVE button on the top left of the photo. You can tap and hold on to the photo to play its video clip.
Q. Can I Convert All Live Photos to Still Images in Bulk on iPhone?
No. You cannot directly set all live photos as stills on your iPhone or iPad. However, you can upload and convert them to regular images in bulk using the online converter mentioned above.
Wrapping Up
This is how you can convert already captured Live Photos to regular stills on your iPhone or iPad. Live Photos are a great way to bring your memories to life. However, you cannot keep every photo as live due to storage and privacy concerns. Anyways, what’s your take on it? Let us know via comments.
You might be interested in:
You can also follow us for instant tech news at Google News or for tips and tricks, smartphones & gadgets reviews, join GadgetsToUse Telegram Group or for the latest review videos subscribe GadgetsToUse Youtube Channel.
[ad_2]
Source link

 with 16-50mm Lens + 32GB Card, Tripod, Case, and More (18pc Bundle)")